Winter Sowing in 3 Easy Steps
Winter sowing is not a new idea in the world of gardening, but a couple of years ago I tried it out for the first time and had great success! Winter sowing is a seed starting method where you plant your seeds in semi-transparent containers such as milk or water jugs and leave them outside all winter to sprout on their own when the time is right. I got a lot of my inspiration and instruction from Kevin Lee Jacobs. Check out his websites to see how amazing this method is!
Disclaimer: when you shop through my affiliate links I earn a small commission which helps me create more content, at no additional cost to you! Thank you so much for your support!
Step 1: Prepare the Jugs
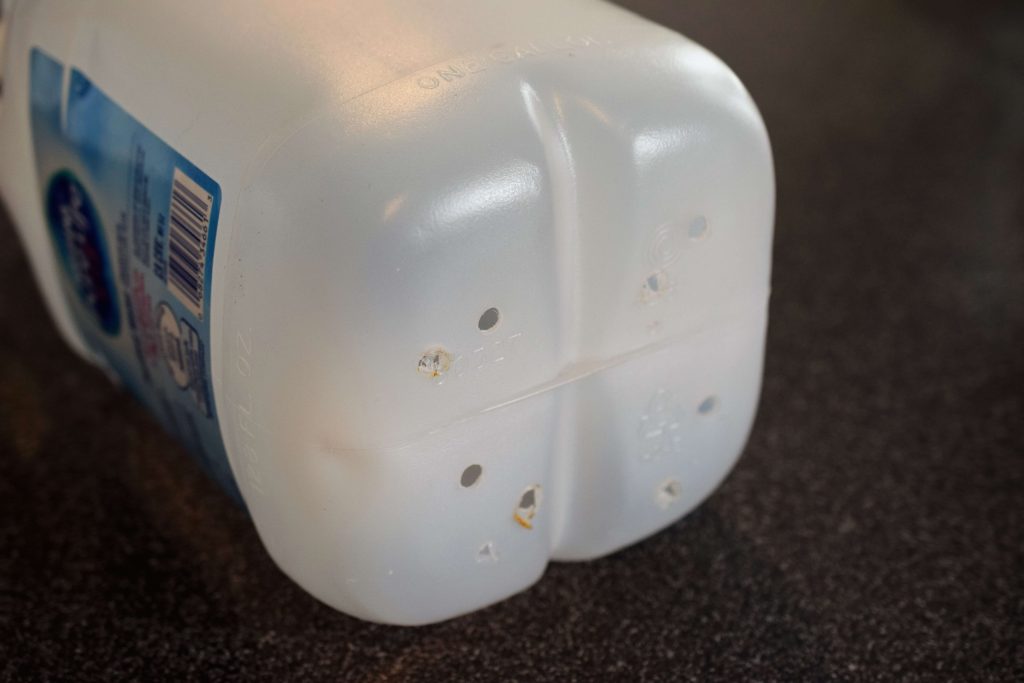
The first thing you need in order to winter sow is some containers. It is best to collect gallon sized milk and water jugs for a few months in anticipation of this project. Throw the caps away- you will not need them. You can really try anything you want as long as it will let rain and sunlight in and allow room for the seedlings to grow. You never know what might make a perfect winter sowing container! As shown in the picture above, poke some holes into the bottom and sides for drainage. I use my handy wood burning craft tool to make my holes. I wear a mask and do it in the garage with all the doors wide open. I would not recommend doing this indoors if you are using heat to melt the plastic because the smell sticks around for a while. You could also try a drill or scissors.
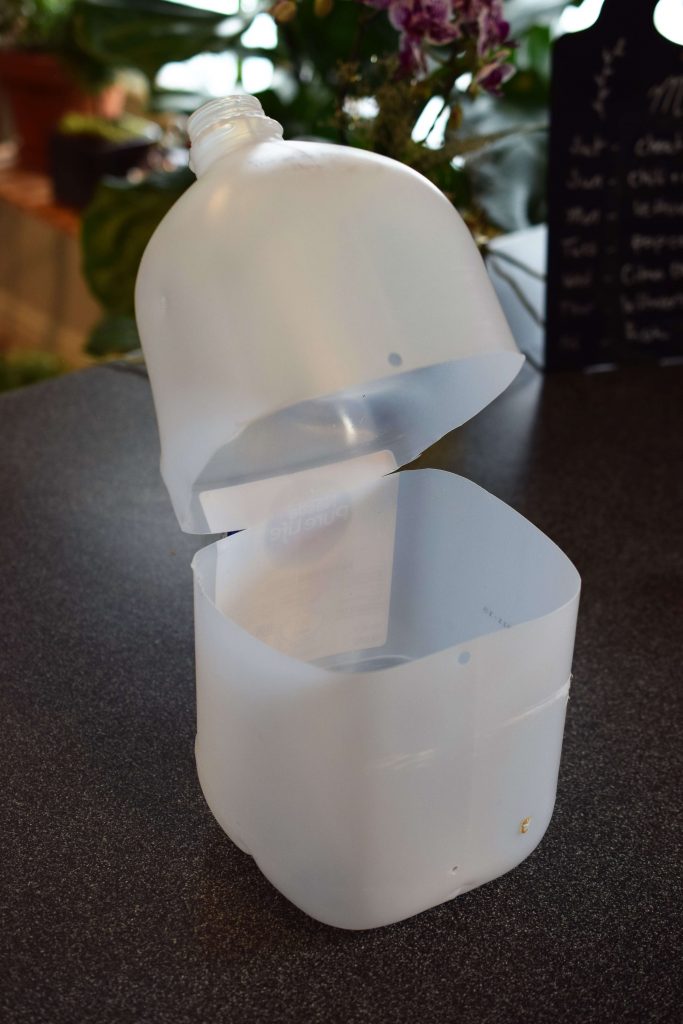
The next step to prepare the jug is to cut the jug. This was easier than I thought it would be! Use a sharp pair of household scissors and cut all the way around, slightly under the handle, leaving the handle area attached to make a sort of hinge (see above). I was able to sort of pinch the plastic together to get my cut started but I supposed you could use a box cutter or sharp knife as well.
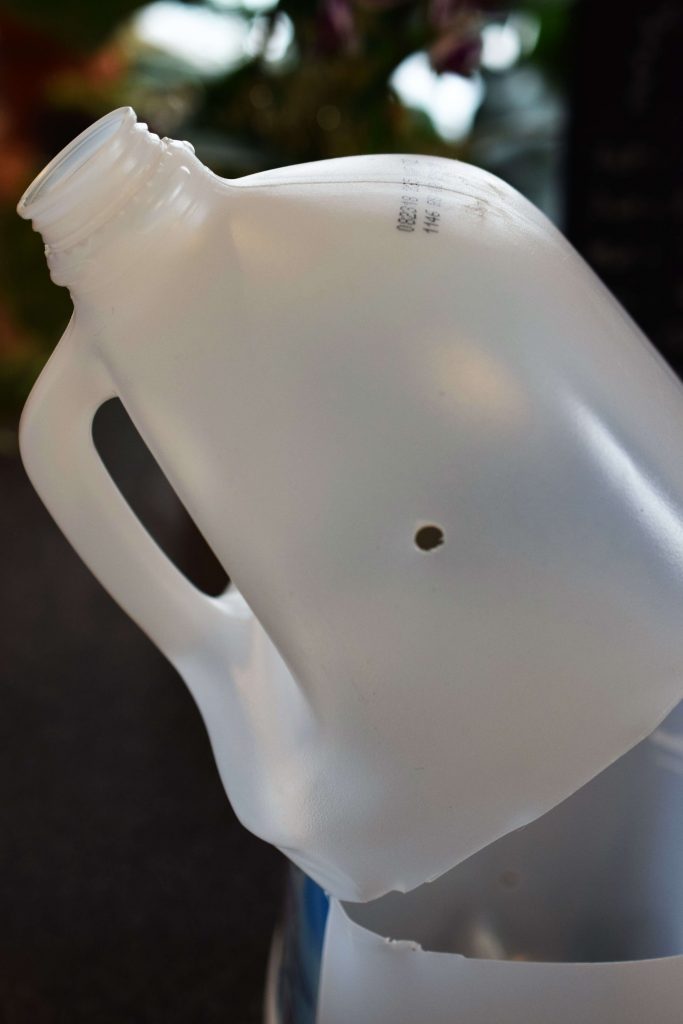
The final step in the jug preparation process was is to use a cheap $1 hole punch to punch a hole in the front center of the top portion and the front center of the bottom portion of the jug. This is where I secure the top portion closed. If you are going to use duct tape to seal your jug you can skip this step.
Step 2: Plant the Seeds
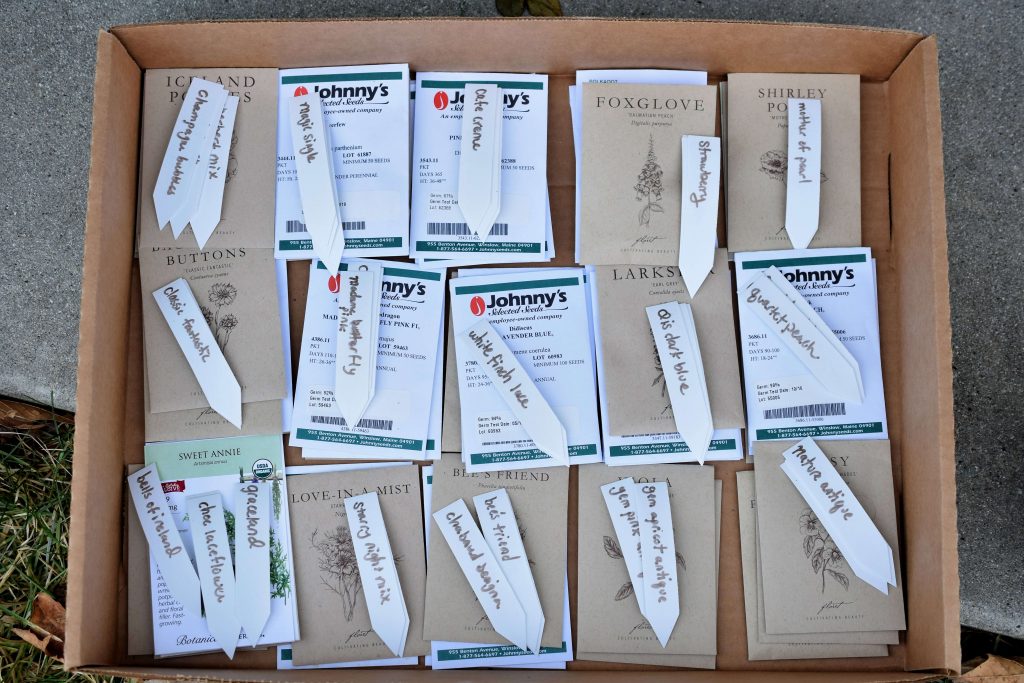
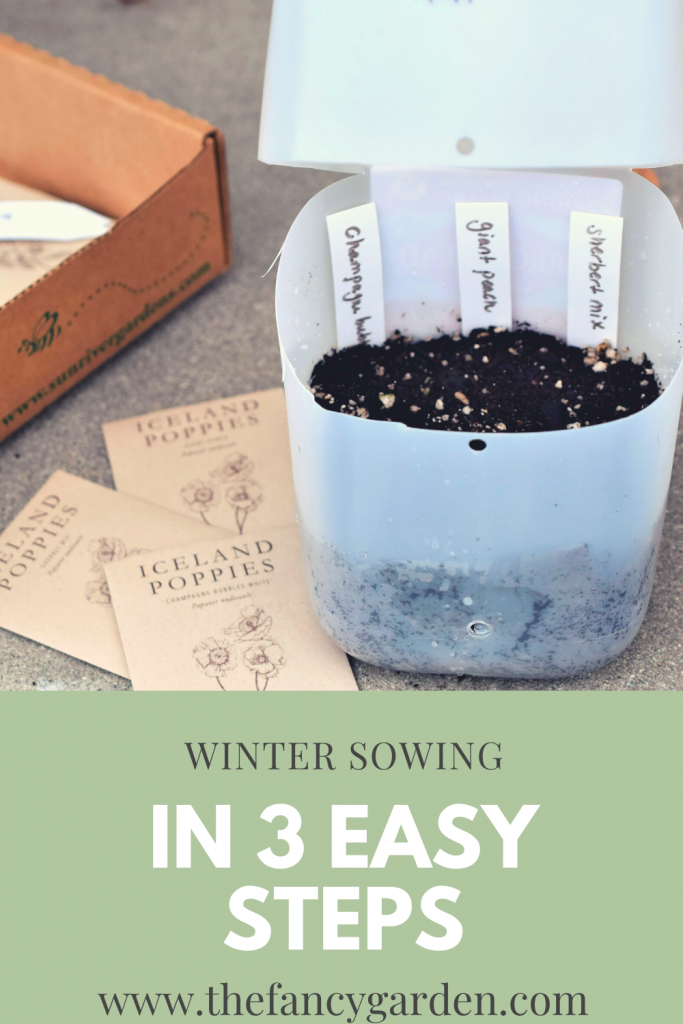
Now for the fun part! Time to plant! I got all of my seed packets and their labels ready the night before. As you can see I planted a lot of varieties! Since I had more varieties than I had jugs, I had to plant most of my jugs with at least three different varieties. Mostly they are just color differences and I grouped the same type of plant together as often as I could.
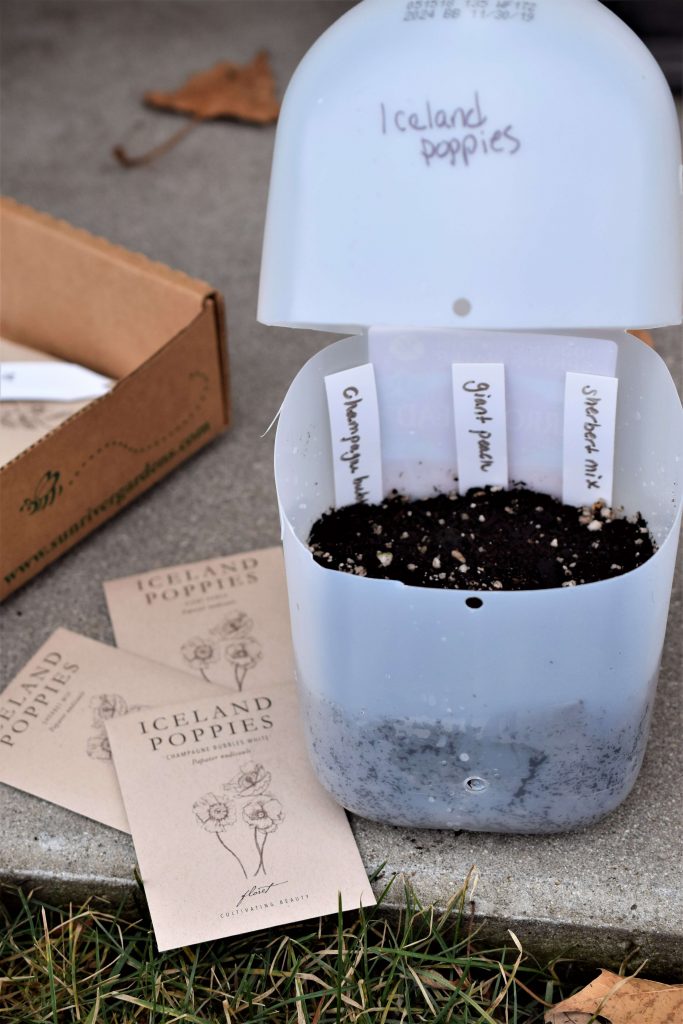
First fill each jug with about 3-4 inches of potting mix, packing it down slightly. I use FoxFarm Ocean Forest which is my absolute favorite. I love that it is already moist but I did go ahead and water each jug as well using my watering can. I always water BEFORE I plant seeds because watering after planting can dislodge them. I planted my seeds in rows, making sure to label each variety. If you are only doing one variety, or don’t care about them mixing, then you could just scatter the seeds instead of planting in rows. Don’t overplant them or you will have a mess of plants to try and separate come spring. A toothpick comes in handy for planting tiny seeds- just slightly wet the end, pick up a seed, and place it onto the soil.
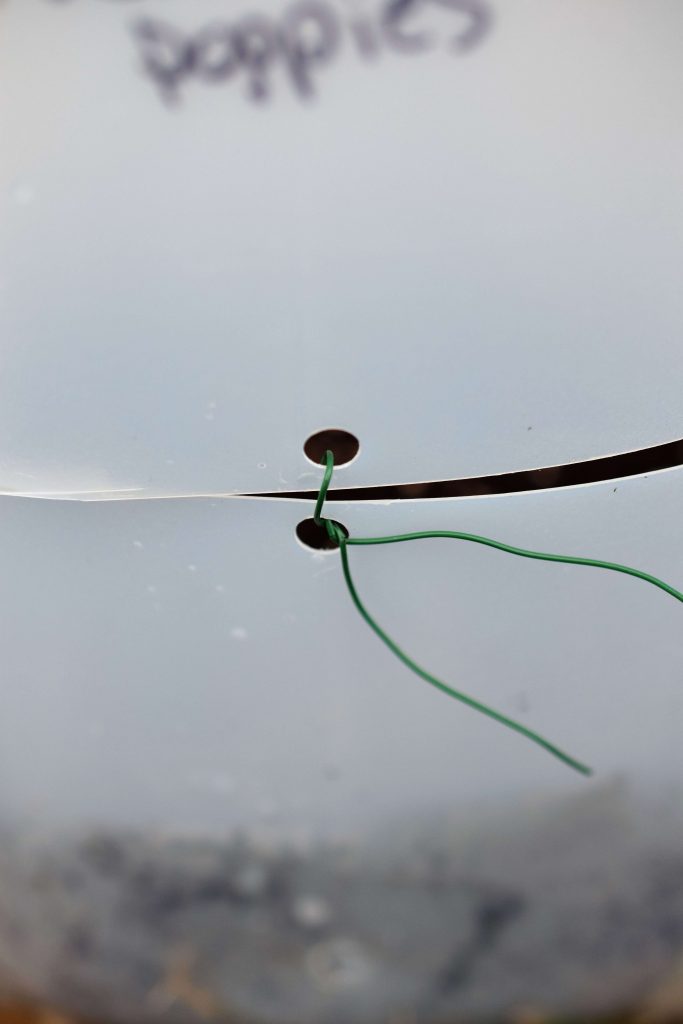
Write the variety on the jug. I use a Sharpie marker which can fade in the sun so make sure you have the plants labeled on the inside as well. I grabbed some handy floral wire for closing the jugs. You can also use duct tape to close the jugs. To close the jug simply line up the top and bottom holes and use a piece of wire to seal it shut. It is not a perfect seal but that is ok. You want some air and moisture to be able to get inside the jug. Some people like to duct tape the seal closed but I prefer to use the wire so I can peek inside easier and also open it as needed on warm days and then close it up at night. Do not put the caps on- you want moisture to get inside!
Step 3: Wait
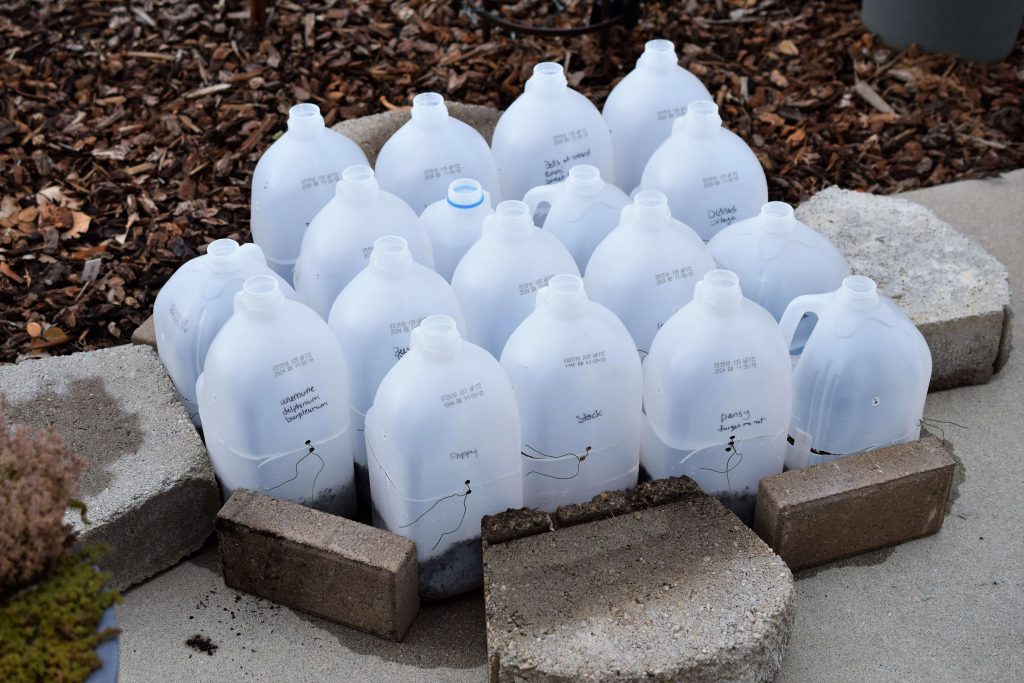
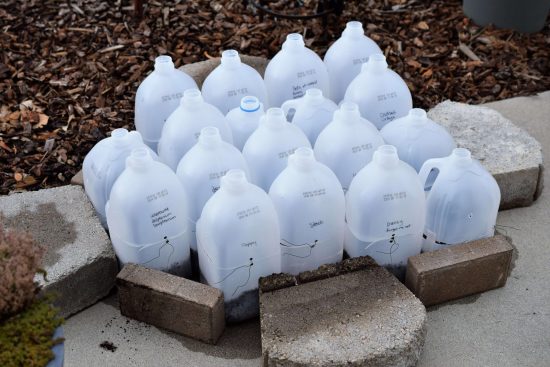
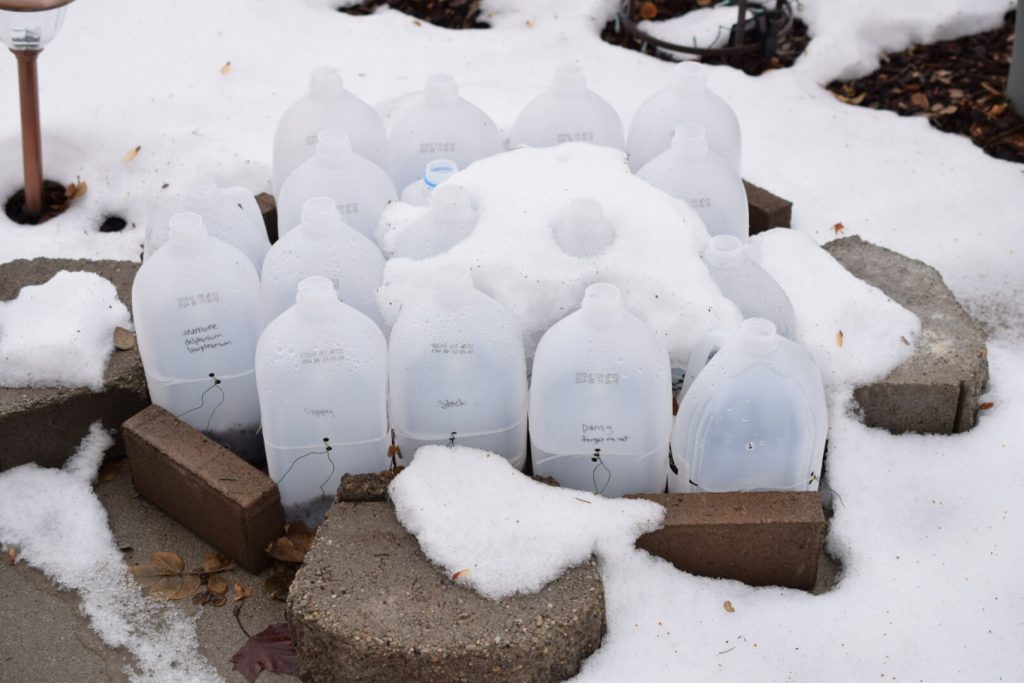
Once all the jugs are planted and sealed move them to a sunny spot on the patio or in the garden. I surround mine with a few bricks for support from the wind and snow. Position them in a spot where they will get some moisture from the weather. Those in dry climates may need to supplement with water to make sure they stay moist. Check your jugs weekly (unless they are buried under snow). When the weather starts to warm up during the day you may need to open the jugs to make sure they don’t overheat inside. Be sure to close them back up if the nights are cold! Once your last frost date has passed plant your babies out in the garden.
Winter sowing is great for flower varieties that need some sort of stratification in order to germinate well. It is also great for flowers that love cool weather. I am not sure how well it would work for warm weather lovers like tomatoes and zinnias- if you have tried these please let me know in the comments! If you are looking to plant sweet peas I recommend the baggie sprouting method HERE!
Thanks for stopping by and don’t forget to join me over on Instagram!
Happy Gardening!
Heather

Related Posts

How to Easily Grow Beautiful Zonal Geraniums from Seed
When I discovered how easy it is to grow beautiful zonal geraniums (Pelargonium hybrids) from…
08/01/2023
How to Easily Grow Delicious Strawberries from Seed
Did you know that you can grow strawberries from seed? I didn’t until a…
08/17/2022
Mary Wheatley | 5th Jan 24
Hello Heather. I am in Louisville KY. I’m a chef and a Master Gardener. Would you consider allowing me to use some of your photographs in an upcoming free community class on Milk Jug Germination?
Thank you!. Mary
Heather | 31st Jan 24
Hi Mary I didn’t get notified of your comment 🙁 If your class isn’t already over, please feel free to use the pictures along with a credit to me. Thanks!
Toesin | 30th Jan 24
This method works for warm wea crops, too, but for areas where the growing season is short it’s better to start those inside so they are a more substantial size when transplanting out. In my 9b long season garden tomatoes, squashes, many flowers etc., would self sow. It was a good area for winter sowing warm season crops but my 8b garden has a much longer, cooler spring and shorter, milder temperature growing season. Also, you can start these later, more like spring sowing, which is nice because it relieves the pressure of having to get everything done all at once in Dec/Jan.