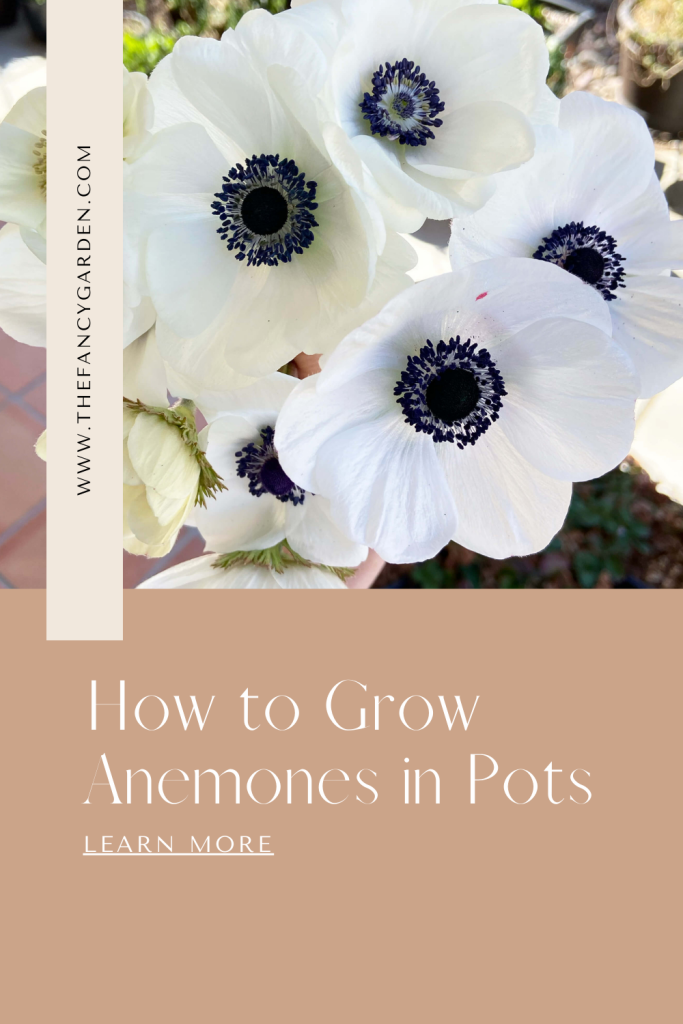
How to be Successful Growing Anemones in Pots
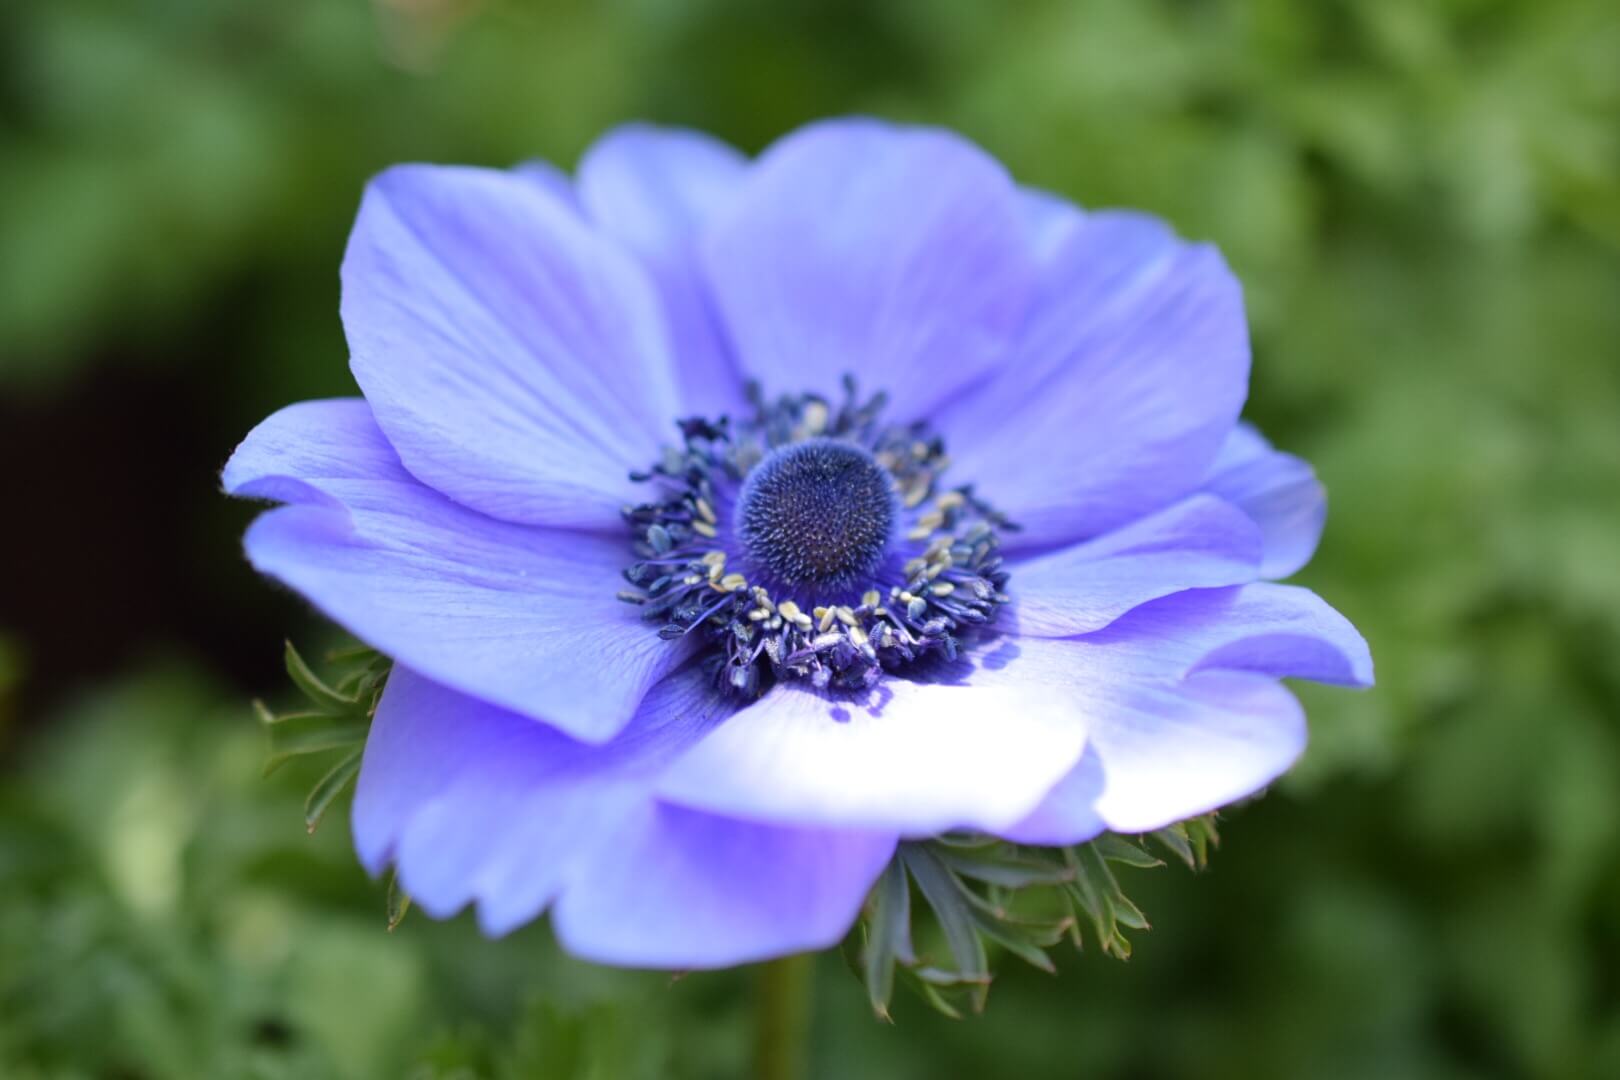
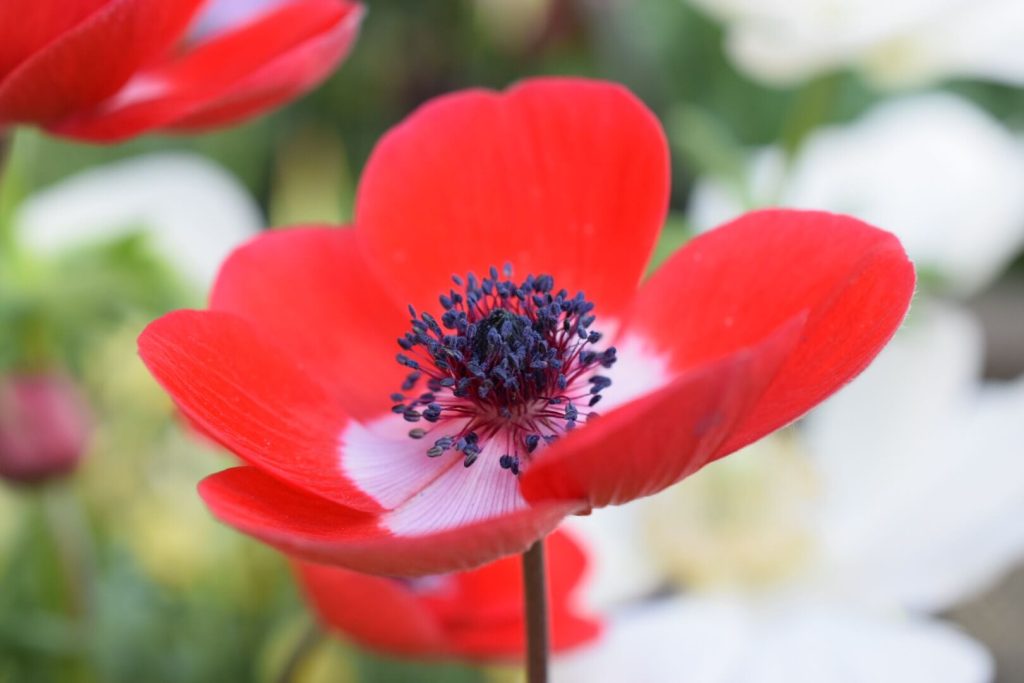
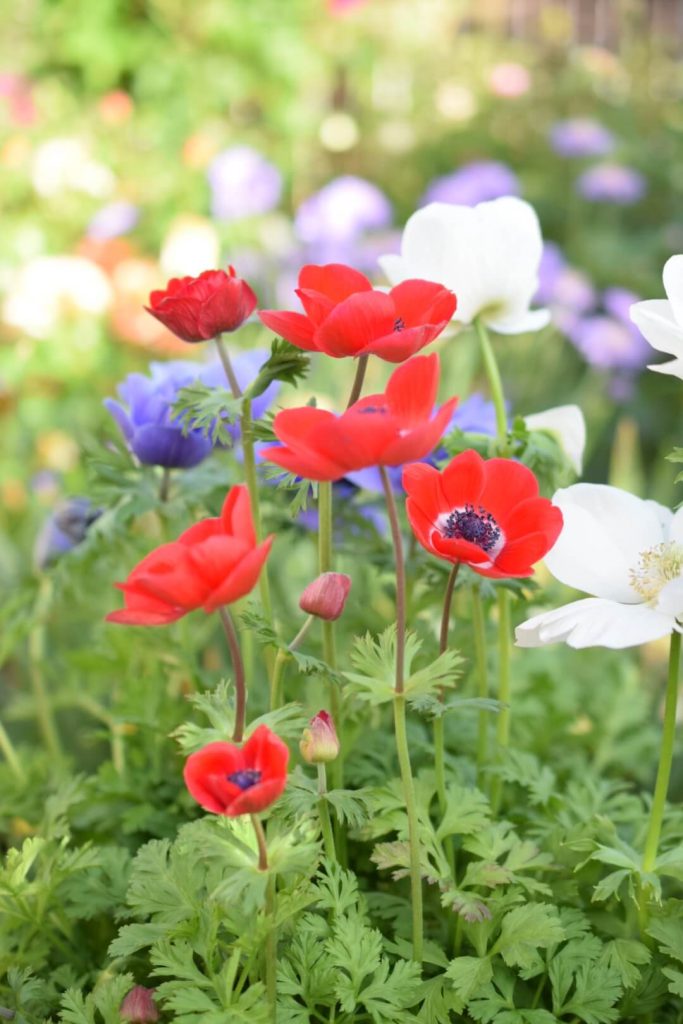
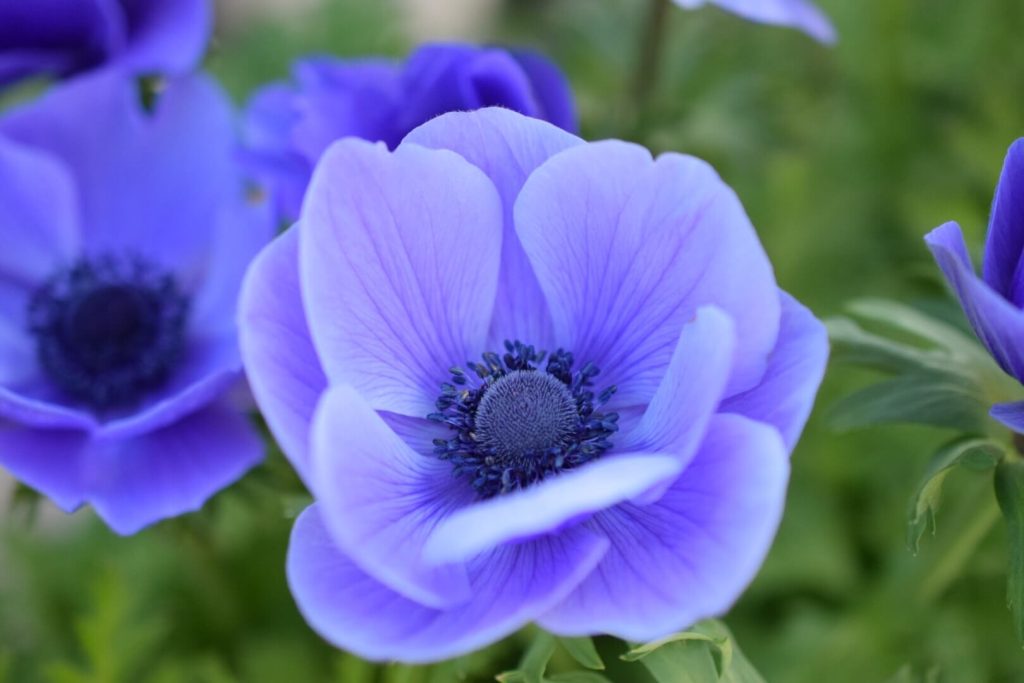
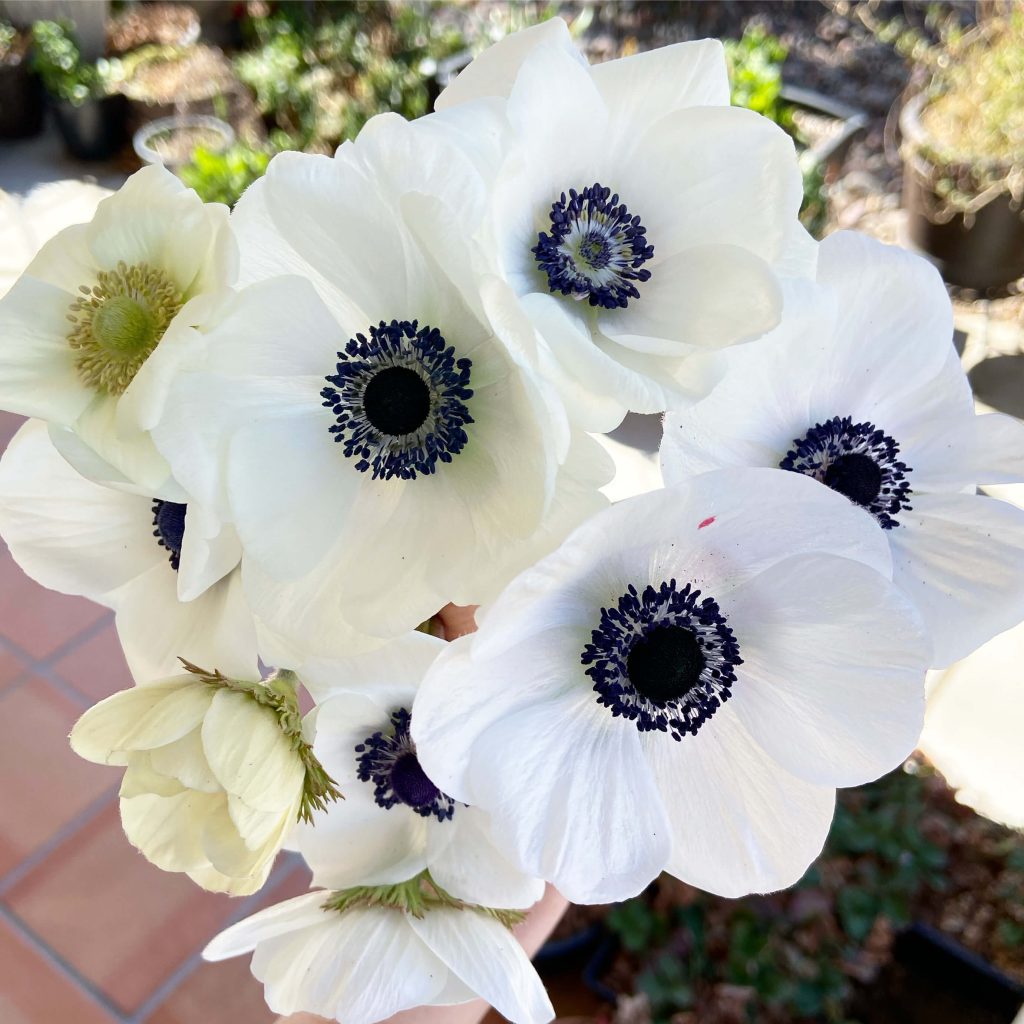
Anemones (Anemone coronaria) are one of my favorite flowers to grow in pots for a beautiful early spring show that looks great in the garden, and lasts for days in the vase. In this article I will be speaking strictly about Anemone coronaria which offer beautiful single and double flowers with long stems in a multitude of colors. If you are limited on space, don’t worry because I will teach you how to be successful growing anemones in pots!
Disclaimer: when you shop through my affiliate links I earn a small commission which helps me create more content, at no additional cost to you! Thank you so much for your support!
When to Plant Anemones in Pots
Suppliers ship out anemone corms in the fall. When to plant your anemones into pots depends on which growing zone you live in (find your growing zone HERE). Anemone coronaria is frost sensitive and injury can occur at temperatures below 28 degrees Fahrenheit. A good rule of thumb is that gardeners in zones 8-10 can plant in fall and those in zones 3-7 should plant in spring. If you are in one of the colder zones and have a frost free area to overwinter the bulbs, such as a greenhouse, you can try a fall planting.
How to Be Successful Growing Anemones in Pots
1. Soak the Anemone Corms
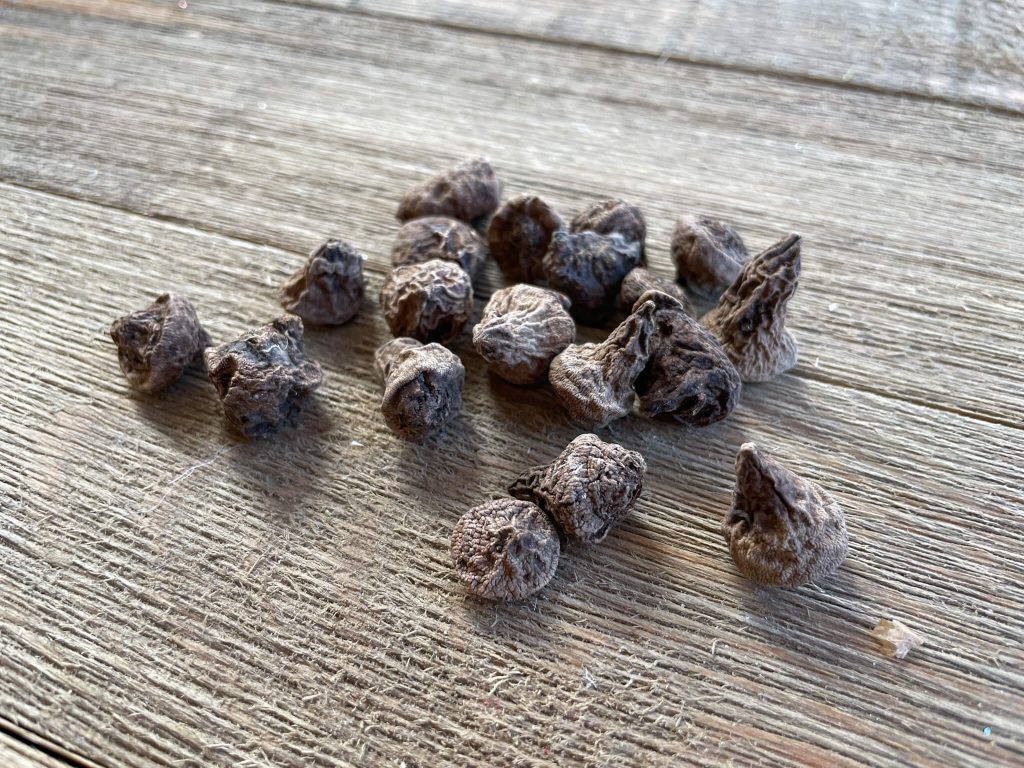
When you receive your anemone corms they will not look like much. They are small shriveled up brown nuggets in a roughly triangular shape. You may have read about the necessity of soaking your anemone corms and wonder if it is something that you really need to do. My answer would be yes. I have had better results in the years that I have soaked vs when I did not.
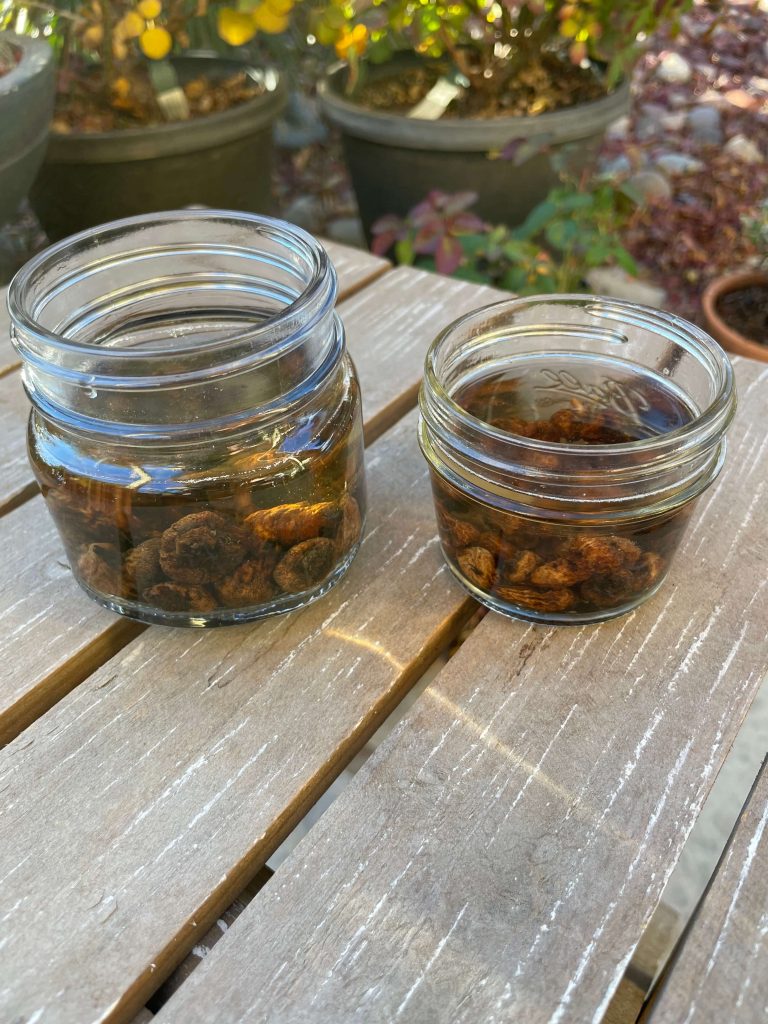
To soak your anemones, place them indoors in a glass of room temperature water for about 3-4 hours. Some people like to leave a faucet on a very slow stream, or add a gentle pump to the water to provide aeration but I have not found that to be necessary. After soaking, the corms should look more hydrated and may even double in size. Do not leave them in the water for too long as that could lead to rotting.
2. Presprout the Anemone Corms
Presprouting is another extra step that I think is helpful. Within a couple weeks you will know for sure whether your corms are viable by whether or not they sprout roots. I like knowing that when I plant them in their final pots they are primed for growing! Additionally, when planting time comes, having roots already growing on the corm makes it easy to know which side to plant down.
After the corms have soaked, place them in shallow trays with a couple of inches of pre-moistened potting mix. Make sure that your potting mix is already moist because you don’t want to have to add a ton of water at this point as that could potentially rot the corms. Make sure the anemone corms are covered with the soil.

Store the tray at about 40-50 degrees Fahrenheit. I usually place mine in the garage. Check on them every few days and keep consistently moist, but not soggy. Throw out any corms that show signs of molding or rotting. The corms should sprout roots in about 10-14 days.
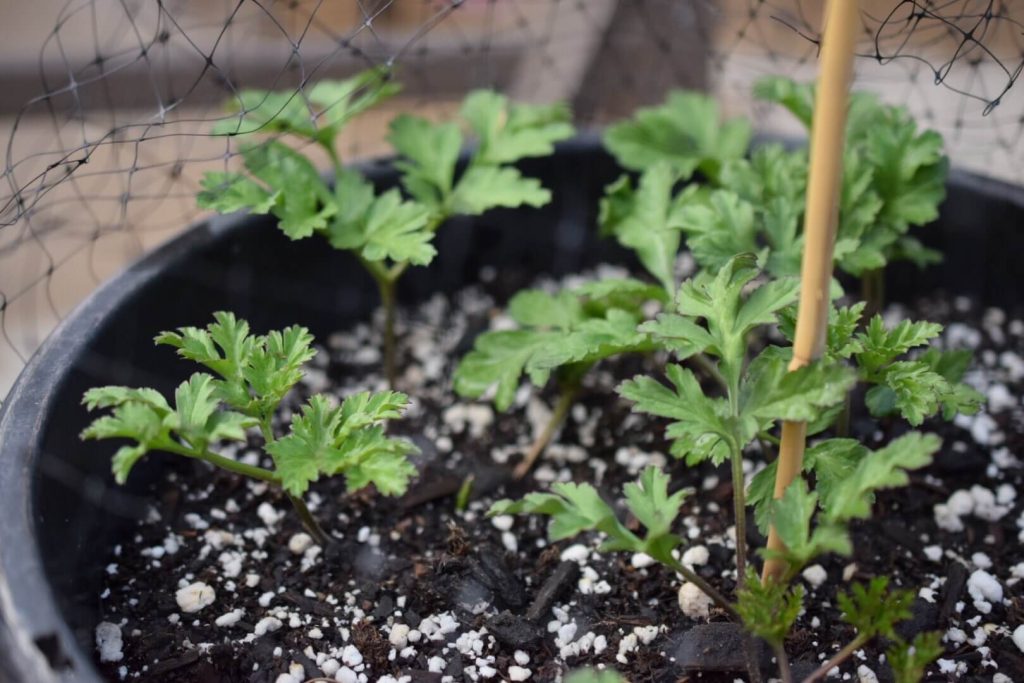
3. Plant the Anemone Corms in Pots
Finally, it is time to plant the anemone corms in their final decorative pots. Any type of container will work for anemones. I do caution against using very large containers because anemone root systems are relatively shallow and rot will be your number one cause of anemone failure. In cooler months, it is often easier to control the soil moisture level in a smaller pot. I typically use a 3 gallon sized pot for my anemones.
Fill your chosen container with fresh potting mix. I always use Fox Farm Ocean Forest. Anemone coronaria is native to the Mediterranean so prefers well draining soil. You can mix in some additional fertilizer at this point. For an organic option I like Espoma Bio-tone Starter. Alternatively, you can use a timed release formula and I find that Proven Winners Continuous Release Fertilizer works well.
Plant the corms two inches below the surface of the soil and about six inches apart. If you presprouted the corms, the visible roots make it easier to know which size of the corm to plant down! If you did not presprout, then plant the pointiest end down. Cover the corm with soil and lightly tamp down.
How to Care for Anemones Growing in Pots
Move your freshly planted pots into a sunny spot in the garden. If temperatures drop to 28 degrees F or lower, the pots must be brought into a frost free area such as a garage or greenhouse. If the pots are too large or heavy to move at least try to cover them with frost protection cloth.
Once the pots begin showing sprouts, it may be necessary to protect the sprouts from hungry birds with a cloche or bird netting. I have had my sprouts nibbled by birds in the past.
Potted anemones need very little care! Give them full sun in all but the hottest climates. Water when the top inch or so of potting mix becomes dry. If you didn’t mix in a fertilizer at planting time and the foliage begins to look pale, apply a general flower fertilizer.
The only pests I have encountered on my anemones are aphids and thrips. If aphids attack the blooms and young growth, spray them off with water. Thrips don’t seem to do much damage, but if you want to try and control them you can read about sticky traps HERE.
Harvesting Anemone Blooms
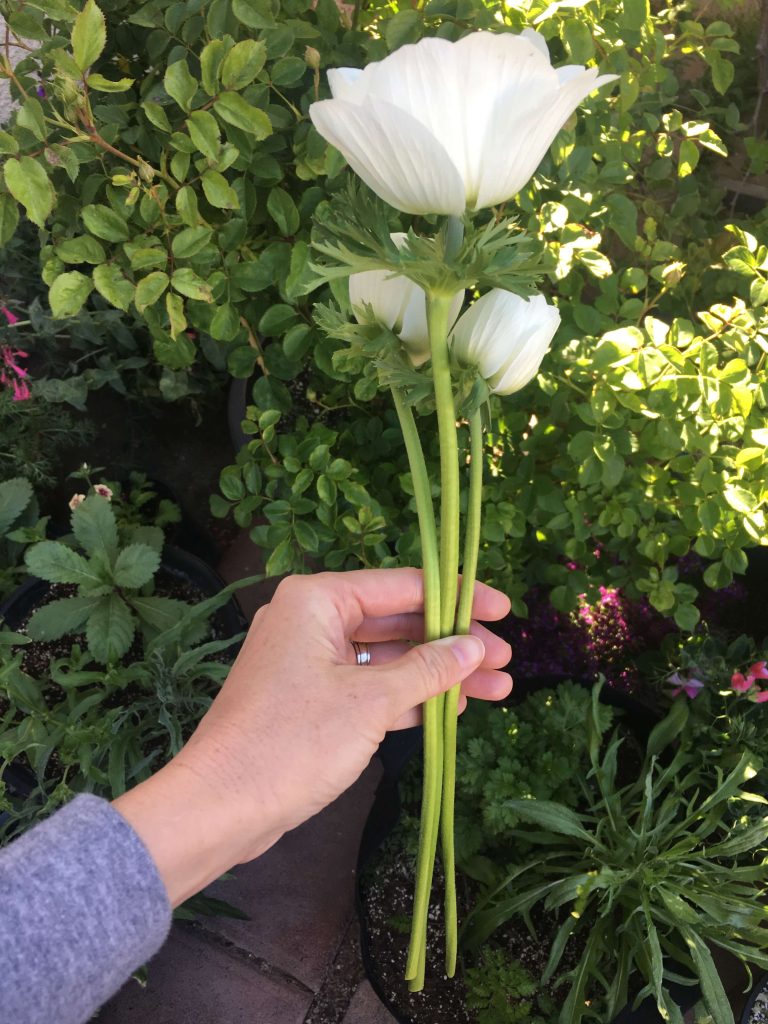
Each anemone plant will have several long stemmed beautiful blooms. They are a delight to bring inside and can last for 10 days in the vase when harvested right when they first open. Cut right at the base for the longest stem length. If you choose not to bring the blooms indoors, make sure you deadhead spent blooms, also at the base, to keep more flowers coming.
Anemones grown in pots will provide many blooms until the heat arrives and they begin to peter out. At this point they can be lifted from the pots and planted out into the garden, but their rebloom potential is unreliable. Otherwise, dispose of the spent plants in the compost heap.
Thanks so much for stopping by and please leave any comments or questions below! If you love growing early spring bloomers in pots, check out my article on sweet peas HERE. Also, don’t forget to join me on Instagram!
Happy Gardening!
Heather

Love this article or want to save it to read later? PIN it!!!
Related Posts

How to Easily Grow Beautiful Zonal Geraniums from Seed
When I discovered how easy it is to grow beautiful zonal geraniums (Pelargonium hybrids) from…
08/01/2023
How to Easily Grow Delicious Strawberries from Seed
Did you know that you can grow strawberries from seed? I didn’t until a…
08/17/2022
Anissa | 25th Feb 23
Must I throw out the ones that start to rot? Or can they be saved if they still feel mostly hard and then placed in a dryer soil? Thanks for all that good info!
Heather | 27th Feb 23
Hi Anissa, you can always try growing them on in a separate pot or area of the garden if you are planting them in the ground. I just wouldn’t plant them with your healthy ones. Thanks!
Lorra | 13th Apr 23
I am growing in Southern California, Zone 11. Can I regrow the same corm from year to year?
Heather | 19th Apr 23
Hi Lorra, you can certainly leave them in the ground and see if they will come back for you.
whoiscall | 14th Sep 23
Thx