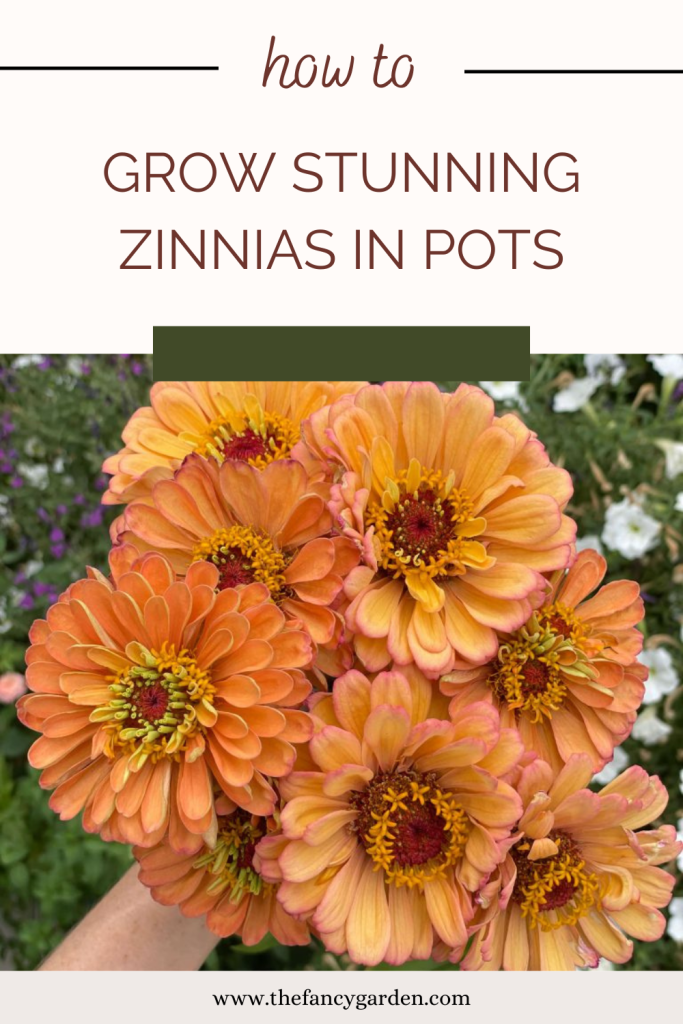
How to Easily Grow Stunning Potted Zinnias from Seed
If you are looking to grow stunning zinnias from seed, AND in pots, you have come to the right place! Zinnias are one of my favorite cut flowers of summer and out of necessity I cracked the code to growing them in pots! So if you have been dreaming of growing potted zinnias keep reading, because all you need are some seeds, potting soil, and a 3 gallon pot!
Disclaimer: when you shop through my affiliate links I earn a small commission which helps me create more content, at no additional cost to you! Thank you so much for your support!
Why Grow Zinnias in Pots
There are several reasons for growing zinnias in pots. First, like me, you might have no choice! I rent and every square inch of my yard is covered in either concrete or rock. So my entire garden is grown in containers out of necessity. If all you have is a sunny balcony you can still grow a pot or two of zinnias! If you have more space, you can grow several varieties and even succession sow. Those with terrible soil might also benefit from growing zinnias in pots.
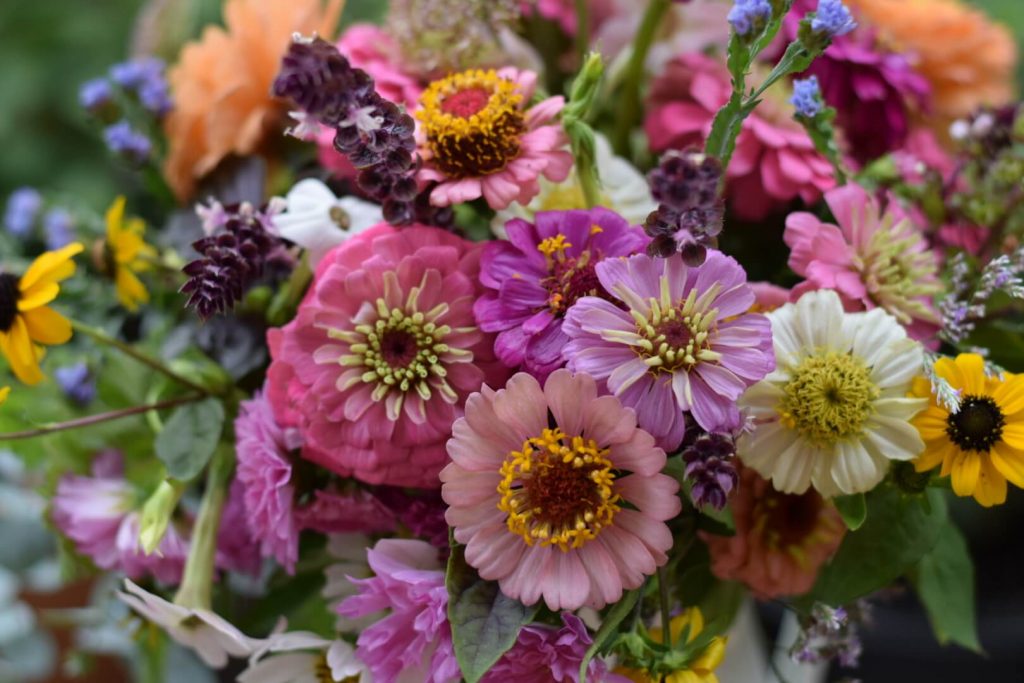
Second, they make great cut flowers. Zinnias look great in the vase and last a long time! I have even pulled zinnias from a previous week’s bouquet and added them to a new bouquet. The plant will keep producing more blooms all summer for you to enjoy.
Third, zinnias love the heat and full sun. It can be hard to find plants that will bloom in the heat of summer. Zinnias thrive in the heat and you actually really need to wait until it heats up before planting them outside because they are very cold sensitive. Make sure you have a full sun spot for your zinnias or they will languish.
Finally, zinnias attract pollinators. They are butterfly, bee, and hummingbird magnets. I like to cut my flowers to bring inside but I also leave plenty of blooms on the plants. The blooms will last for at least a week, if not more; plenty of time for the critters to enjoy them. Just make sure you cut them off before they set seed or the plant could stop blooming.
Steps to Growing Zinnias in Pots from Seed
1. Types of Seed
There are several types of zinnias and the type of seed that you choose will depend on what you want from the plant. If you want zinnias with double blooms and long stems for cut flowers, then any of the Queen, Zinderella, Benary’s, Oklahoma, State Fair and Cactus varieties will work well. I have had these varieties produce blooms on stems that were 2 feet long even in pots.
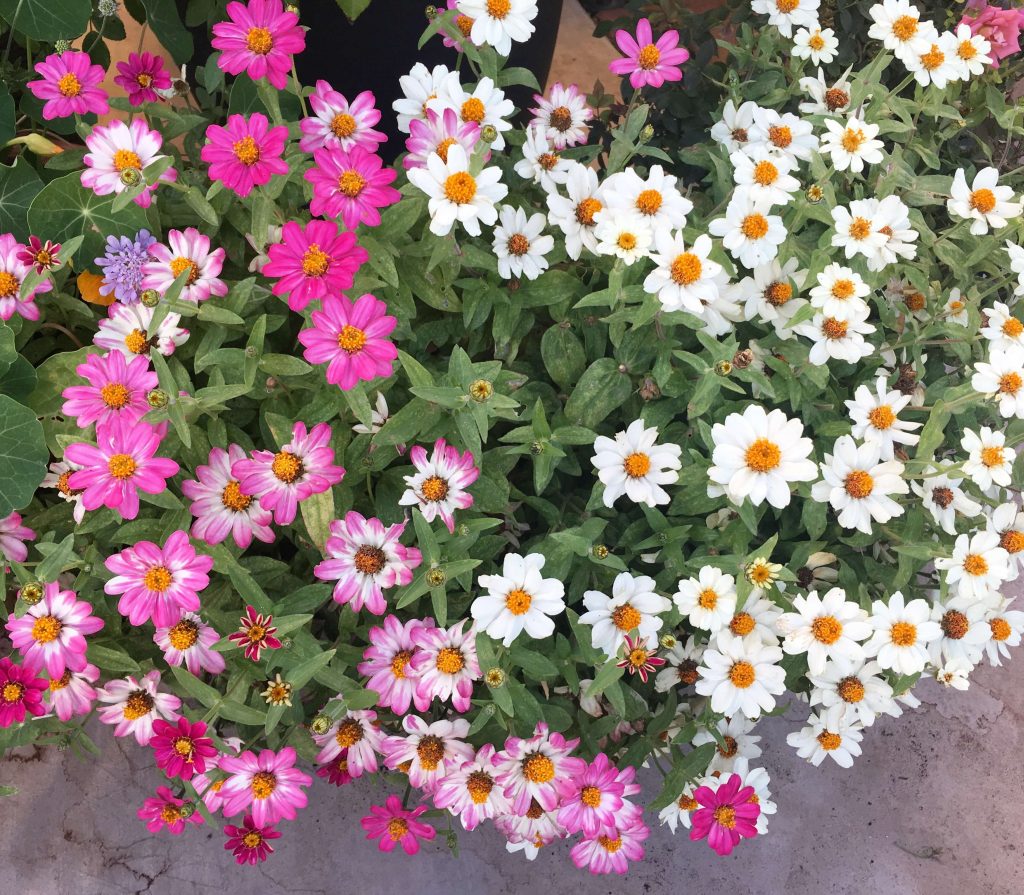
The Zahara and Profusion series are shorter and geared more toward landscape uses. If you are dreaming of small pots of zinnias that are constantly in bloom and which you won’t be harvesting from, then those would work for you. They are often single blooms but breeders are producing more and more doubles. The Swallowtail Garden Seeds zinnia page is a good place to compare the varieties of zinnias available.
2. Planting Zinnia Seeds in Pots- 2 Methods
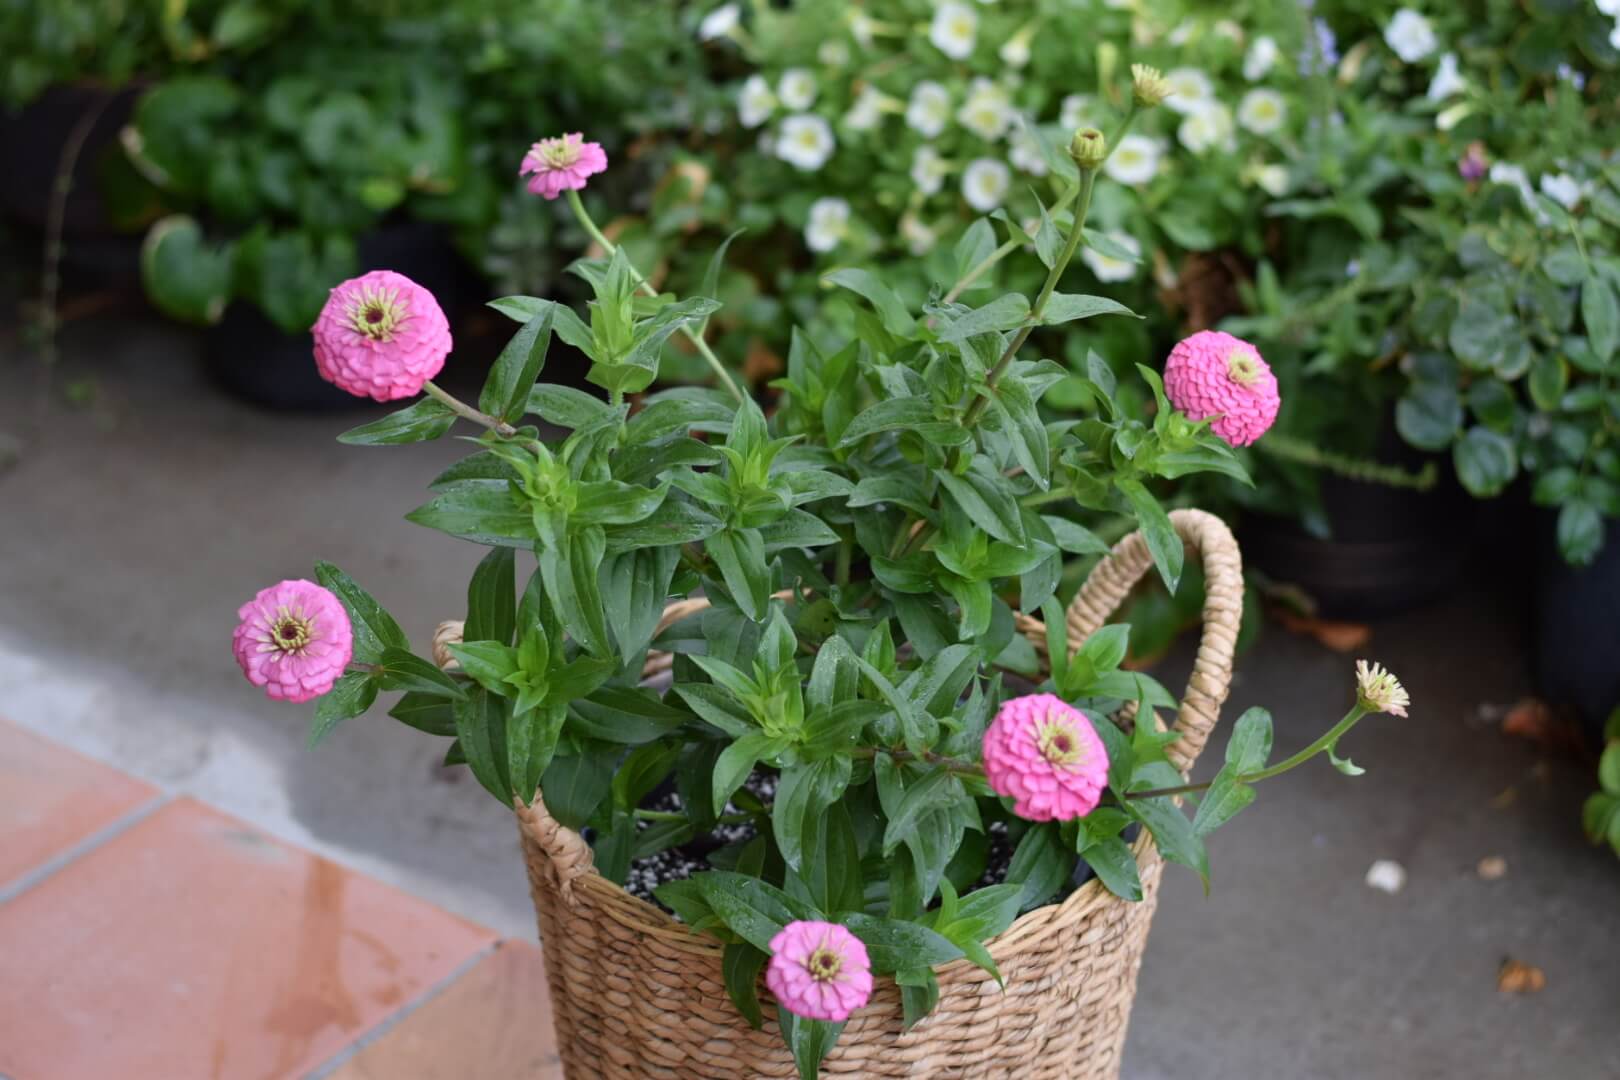
I use two methods to plant my zinnia seeds in pots. The first method involves starting the seeds indoors either in soil blocks or small pots. The second method, which is best used when the weather has heated up, involves planting the seed outside directly into the large (3 gallon or larger!) pot that the zinnia will spend its whole life in.
Method 1. Starting the Seeds Indoors in Pots
The main advantage to starting the zinnia seeds indoors is you can get a jump on the season and get your zinnias going while it is still chilly outside. This allows you to get as early a crop as possible. Start your seeds no sooner than 4-6 weeks before your last expected frost.
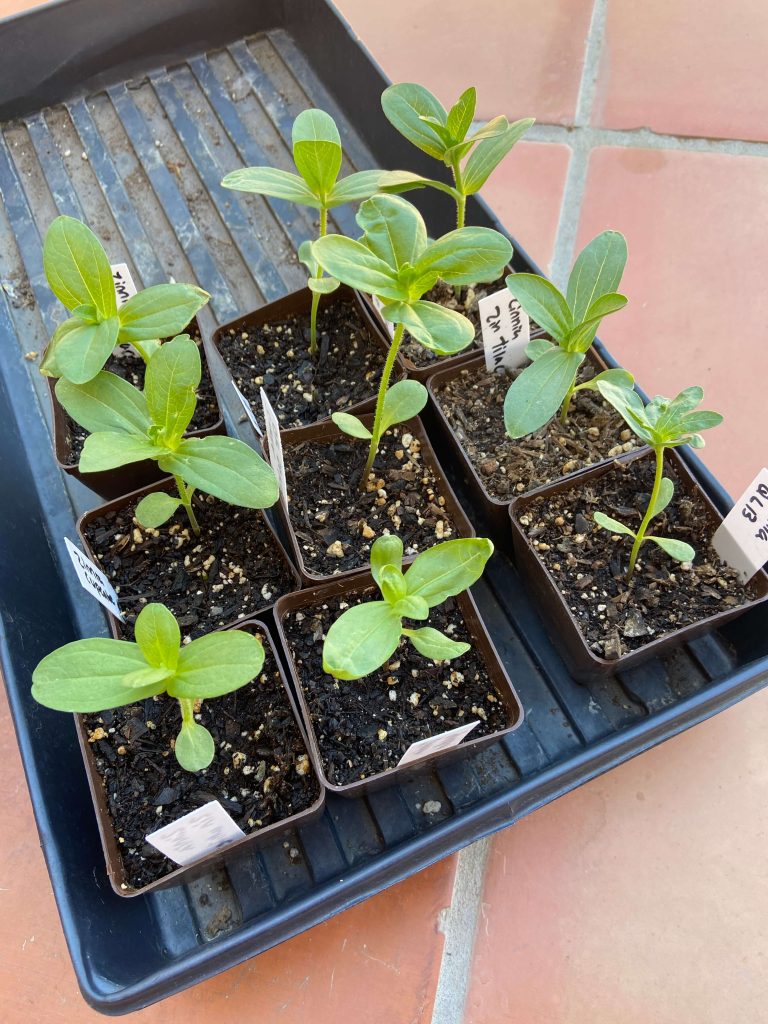
Fill seed starting cells with a good quality pre-moistened seed starting mix. Water the soil in well then drain off the excess. Press the seed into the soil pointy side down and about a half inch deep. I always cover with a humidity dome and keep the room temperature about 70-75 degrees. The seeds will sprout in 3-10 days. Remove the dome once the seeds start sprouting. If the seed shell seems stuck after sprouting, then mist every few hours with water until it falls off. It is best to place your sprouts under an LED light or grow light right away because they will grow quickly and can easily get leggy. After they have grown a couple sets of leaves thin out the weaker sprout to leave just one.
Method 2. Starting the Seeds Outside in Pots
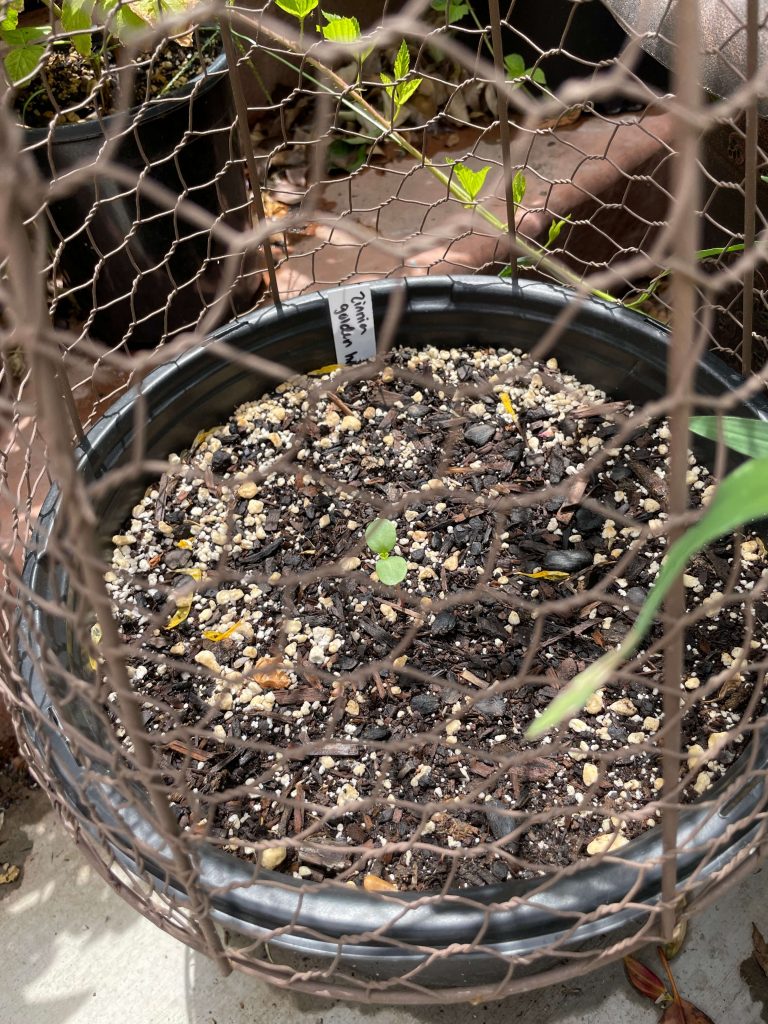
I love this method in midsummer! It removes several steps in the seed starting process. The zinnia seeds will sprout even when it is 100 degrees outside, which totally blows my mind. For this method, fill up your 3 gallon or larger pot with soil (I always use FoxFarm Ocean Forest and am never disappointed) to an inch below the lip and lightly pat it down. Next, water the soil in very well. By watering in the soil prior to planting we prevent dislodging the seed. Plant two seeds in the center of the pot, about an inch apart and ½ inch deep, pointy side down. I always plant two seeds in case one does not sprout. Water again very lightly just to settle the soil around the seed. Cover with a cloche so critters do not snatch your seedling. Keep moist.
After your seeds sprout be careful with watering using this method. Do not water if the soil is already moist. You don’t want to drown your seedling. I keep the cloche over the plant until the plant grows too big and it no longer fits. If both seeds sprout, thin out the weaker one leaving one seedling per pot.
3. Potting Up and Pinching Seedlings
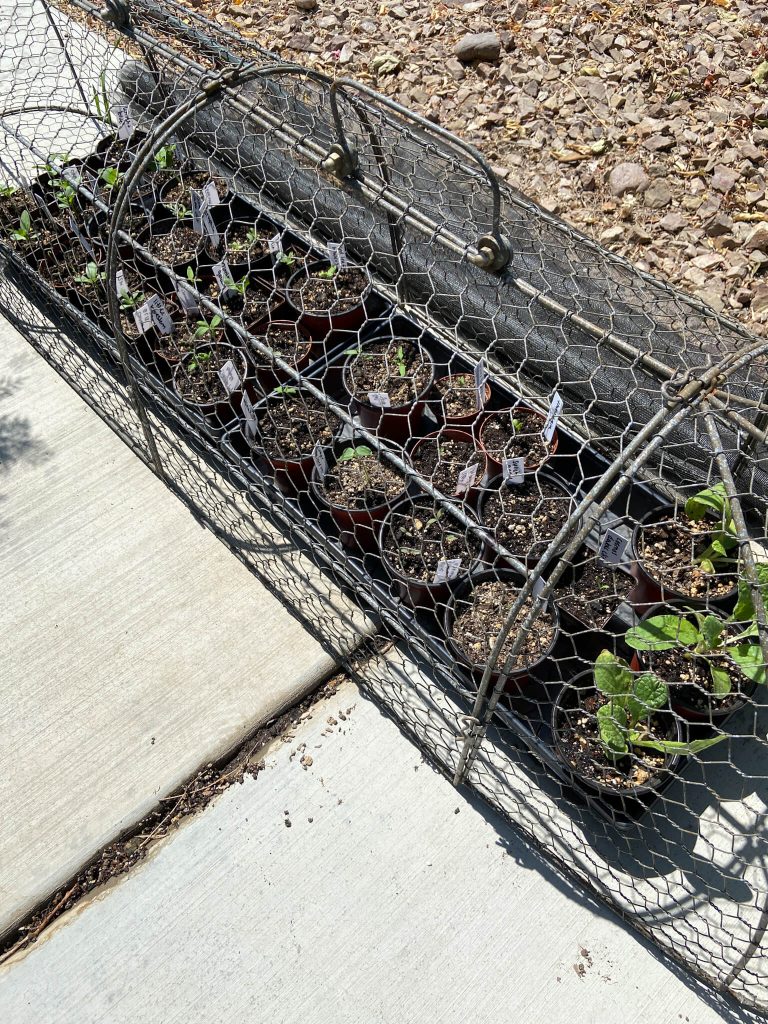
If you planted your seeds indoors using method one, once they put on a couple of sets of true leaves it is time to harden them off and then pot them up. Do not let them get rootbound in their little pots! Begin by placing them outside in the shade for an hour. Then bring them back inside. Increase the duration and sun exposure over the course of a week until you are able to leave them out all day. This is the trickiest part of the process because if it is warm out and the pots are in the sun they can easily dry out and your seedlings can burn up. I have had really good luck with acclimating seedlings using a wire cloche covered with a double layer of window screen. Shade cloth will work great too, just make sure it is not too shady.
After a week of hardening off, your seedlings can be planted into their final pot. Use a 3 gallon pot or larger. Fill with potting soil and plant one seedling per pot. I continue providing cloche protection until the seedlings no longer fit because I have lesser goldfinches that love to eat zinnia and sunflower leaves.
Try not to disturb your seedlings too much when transplanting. There are some theories out there that transplant shock can lead to single instead of double blooms.
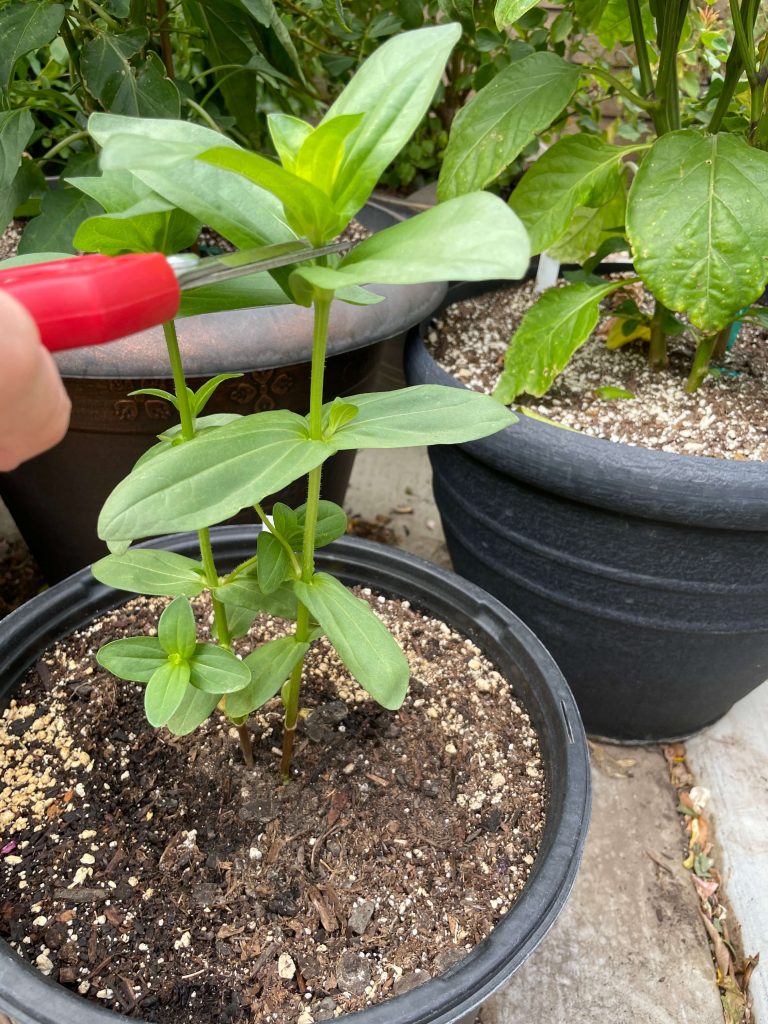
Once your zinnias grow 8-12 inches tall it is crucial to pinch them to encourage branching. Snip them just above a set of leaves. This will delay blooming a little bit, but you will have several blooms from the side shoots in your first flush instead of just one main bloom. It also helps the plant to have a more rounded shape.
4. Caring for the Plants
Zinnias LOVE sun!! Make sure your pots are in as much sun as possible.
Water your zinnias whenever the top inch or so of soil dries out. At first you will not need to water them very often but as they grow and the roots fill up the pot they will get thirstier. In high summer I water them every day, sometimes twice.
With all the water going through the pot, you will likely need to fertilize. I have used both Neptune’s Harvest Fish Emulsion and Proven Winners Fertilizer. If your plant has stopped growing and seems pale it likely needs a feed.
If your plant seems wobbly or is moving around a lot in the wind you may need to stake it. Insert a bamboo cane into the pot and tie it to that for support.
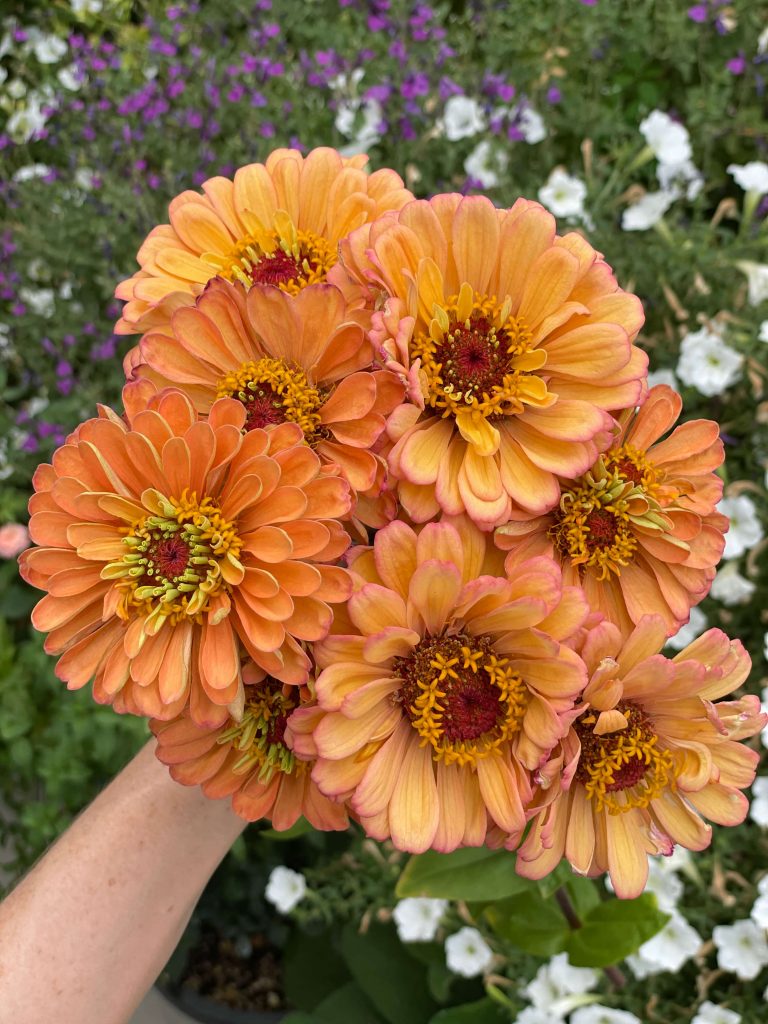
Harvesting Zinnia Blooms- The Wiggle Test
So your zinnias are blooming and you are ready to make a bouquet. But wait, there is a crucial step before harvesting any zinnia bloom! This is the “Wiggle Test”. I first learned about this from Erin over at Floret Flowers. Do not harvest zinnias in bud form. They need to fully open. If you pick a zinnia bloom too early it will not last long in the vase. To perform the “wiggle test” grasp the zinnia stem about 8 inches below the bloom and give it a shake. If the bloom bounces and bends around at all, it is not ready. The whole stem of a bloom that is ready to pick will feel very stiff when you shake it.
Make your cut deeply into the plant to encourage it to grow more long stemmed blooms. If you are harvesting very short stems then your plant will start producing shorter and shorter stems.
Zinnia Problems
The main issue that bothers my zinnias is powdery mildew. Powdery mildew can be difficult to fight organically so it is a good idea to simply sow more seeds every couple of weeks so you can dispose of diseased plants. Some preventative measures include allowing lots of airflow and keeping the foliage dry, especially overnight.
Leafhoppers can also make their appearance on zinnia plants. For those I use sticky traps. If you notice your leaves being eaten it could either be finches or budworms. I use BT (Bacillus Thuringiensis) on the budworms. For the finches, I find that if I leave a couple of scraggly sunflowers in the garden they will go for those and leave the zinnias mostly alone. You can also try netting your plants.
Thank you so much for stopping by! Let me know in the comments if you have ever grown zinnias in pots! And don’t forget to join me on Instagram!
Happy Gardening!
Heather

Love this article or want to save it to read later? PIN it!!!
Related Posts

How to Easily Grow Beautiful Zonal Geraniums from Seed
When I discovered how easy it is to grow beautiful zonal geraniums (Pelargonium hybrids) from…
08/01/2023
How to be Successful Growing Anemones in Pots
Anemones (Anemone coronaria) are one of my favorite flowers to grow in pots for a…
12/06/2022
Pam | 30th Apr 22
I have grown zinnias in pots and have had good luck with them. They put on a beautiful show for others to enjoy as they drive by or are out for a walk. I’ve not really cut them to bring inside to enjoy but I’m going to try your ideas this year. Thanks for your advice and sharing. Happy zinnia growing!
Heather | 14th Jun 22
Thanks Pam!
Melissa | 20th Jun 22
Hello. I’m so thankful for this information as I’m a first timer growing Zinnias from seeds. I’m encountering problems with some of my Zinnias that I grew from pots this season. I put too many seeds in one pot and I think they are root bound. I would like to know how many seeds should I plant in an 8 inch pot, and ensure I don’t encounter this problem. I would like to grow more seeds but the right way. Thank you so much in advance.
Heather | 20th Jun 22
Hi Melissa! An 8 inch pot is a bit on the small side for zinnias, especially for more than one plant. I use at least a 12 inch pot. You can certainly give it a go with an 8 inch pot but you would for sure want to plant only one seed. You could plant two to make sure that one sprouts but then you will want to thin out (cut away) the weaker of the seedlings. There is still plenty of time to try again! Best of luck!
Lynn Eder | 18th Jun 24
I have started seedlings of the “tall” zinnia type. (State Fair) I cannot put them in ground soil, like I did last year. So what is your suggestion for 1, or ideally 2, plants in one large pot? What diameter of pot? I don’t think the roots grow all that long, from what I pulled out of the ground, but I would like your take on this.
thanks.