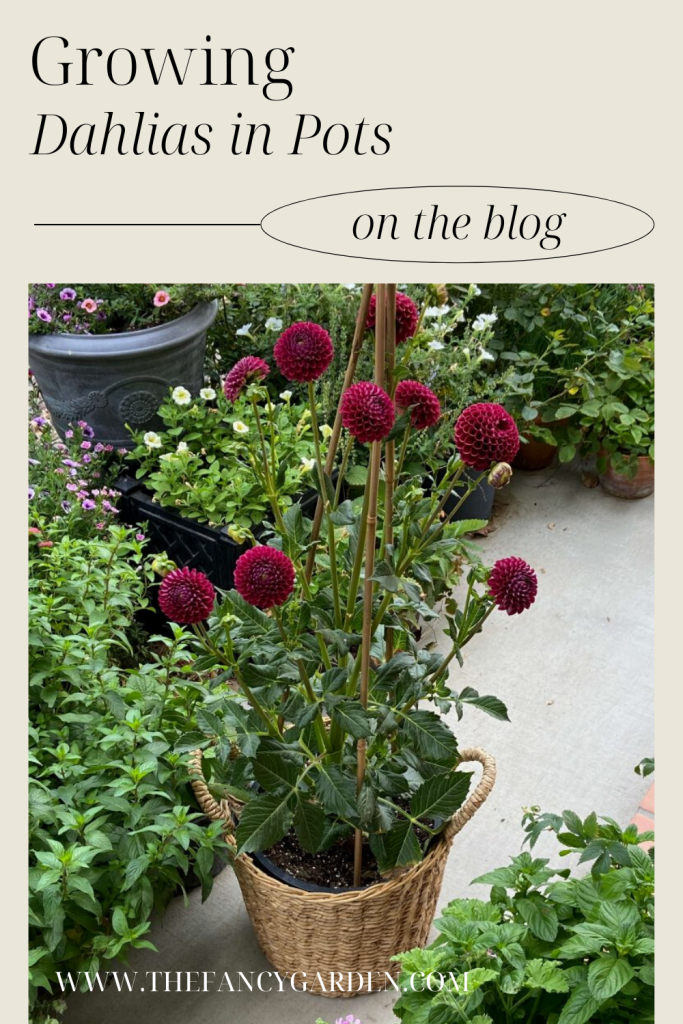
How to Successfully Grow Stunning Dahlias in Pots
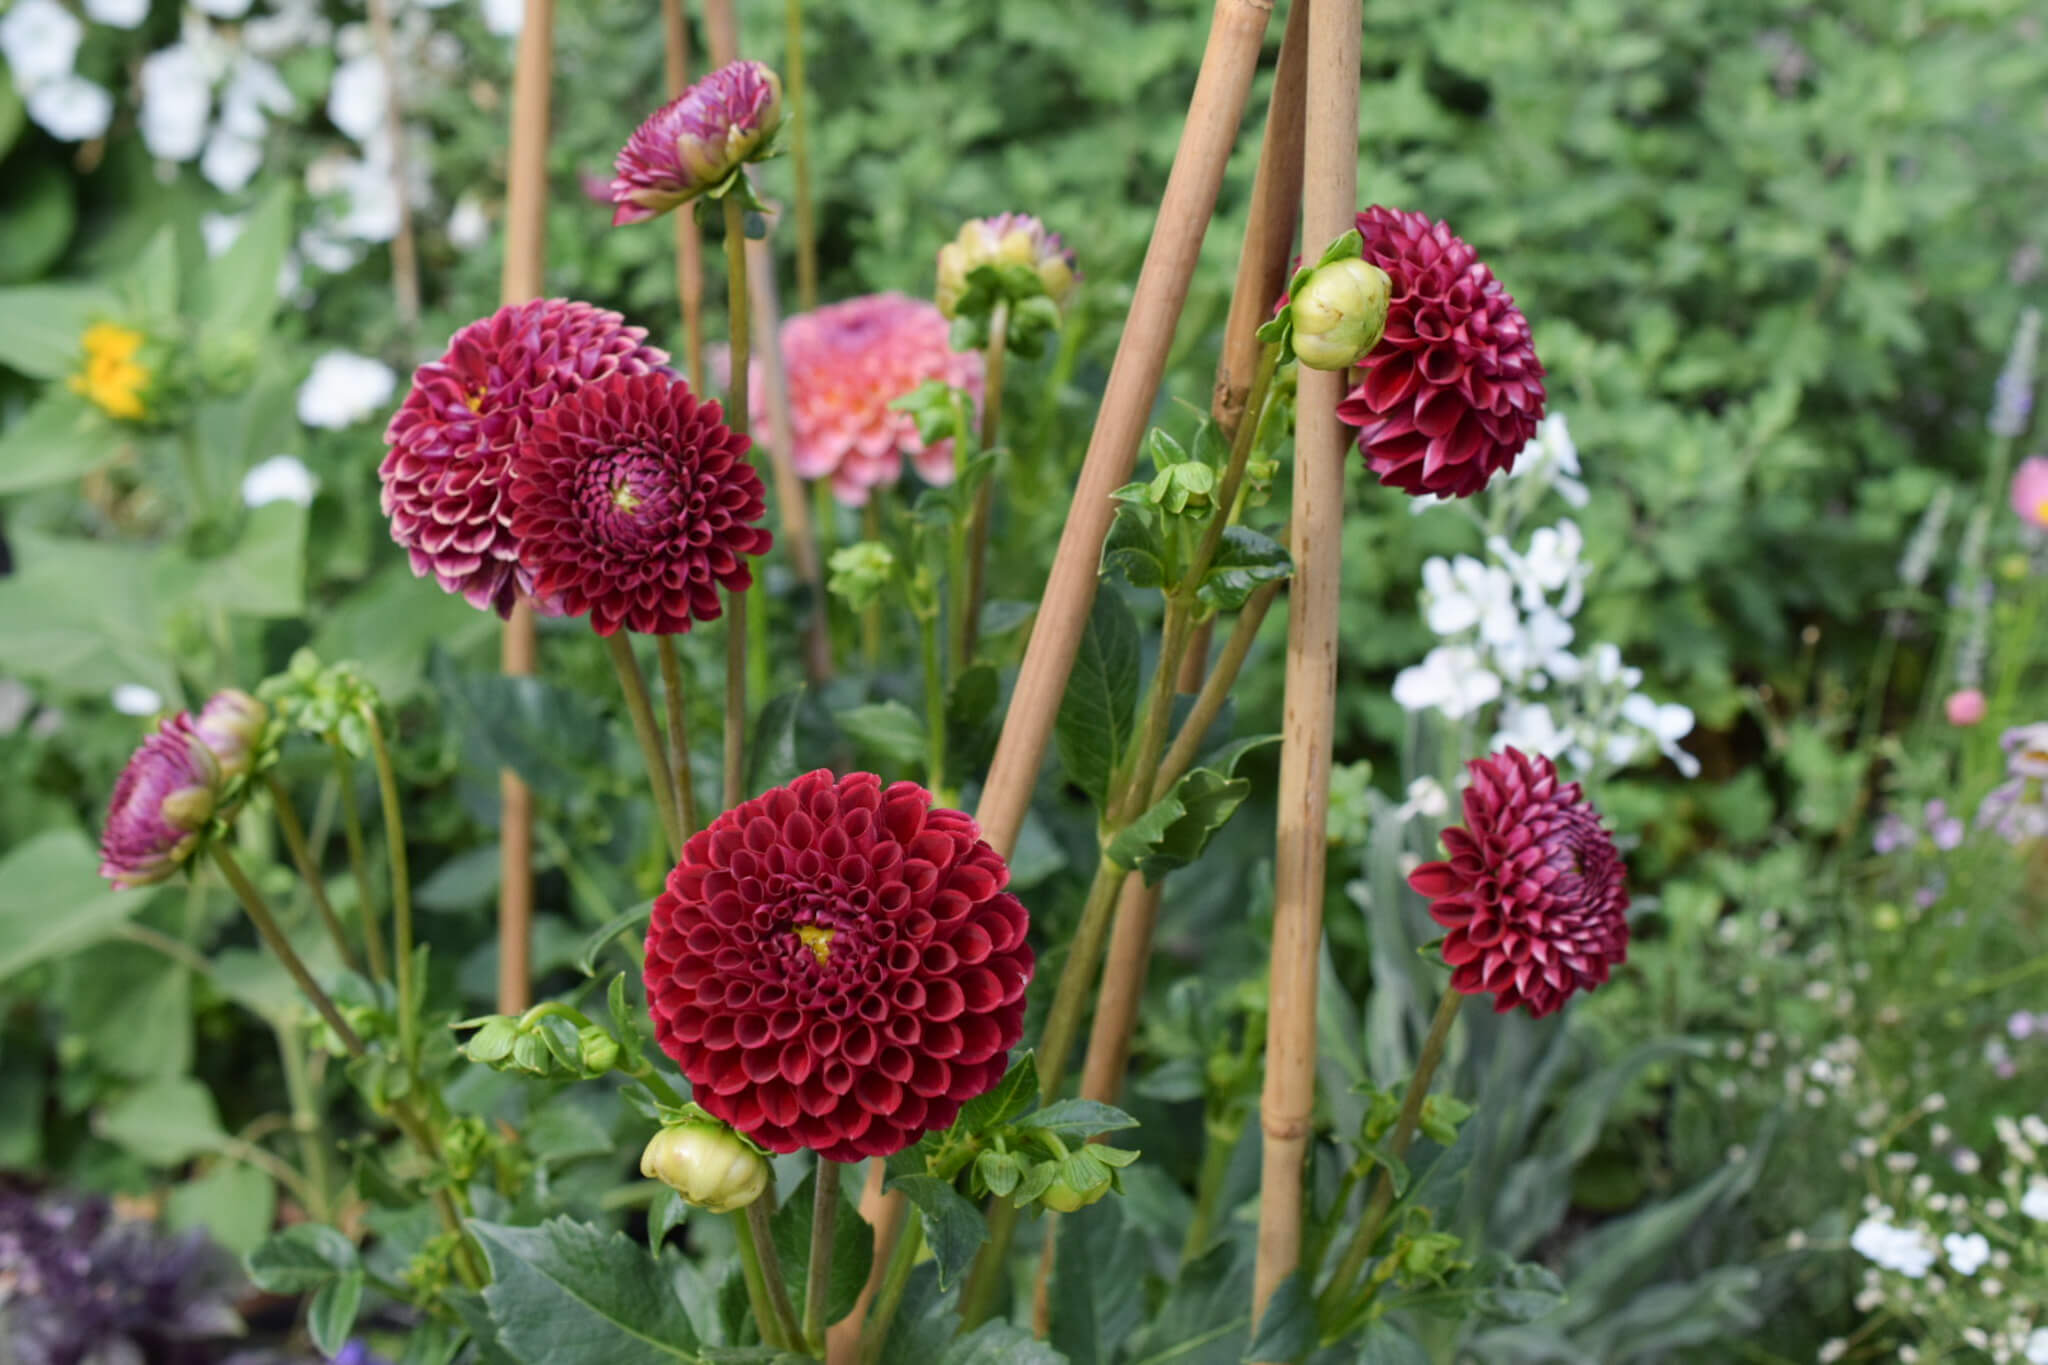
Growing dahlias can be challenging. I have heard so many times that growing dahlias is “easy”, but have not found that to be true in my hot, arid climate. I am also growing them strictly in pots, which adds another layer of difficulty. In years past I managed to receive a few blooms on sickly plants. But this year is different! This year, I finally cracked the code to successfully growing stunning dahlias in pots and I am so excited to share my method with you!
Disclaimer: when you shop through my affiliate links I earn a small commission which helps me create more content, at no additional cost to you! Thank you so much for your support!
Step 1: Wake Up Your Tubers
One of my secrets to growing stunning dahlias in pots is to first “wake up” the tubers. By “waking them up”, I mean get the eyes to start sprouting and some roots growing. The eyes are where the dahlia stalks (and future blooms!) come from and if your tuber does not have any your dahlia will not grow. I like to wake up my dahlias first so I know that I have a viable tuber before spending time, energy, and supplies potting it up and growing it on.
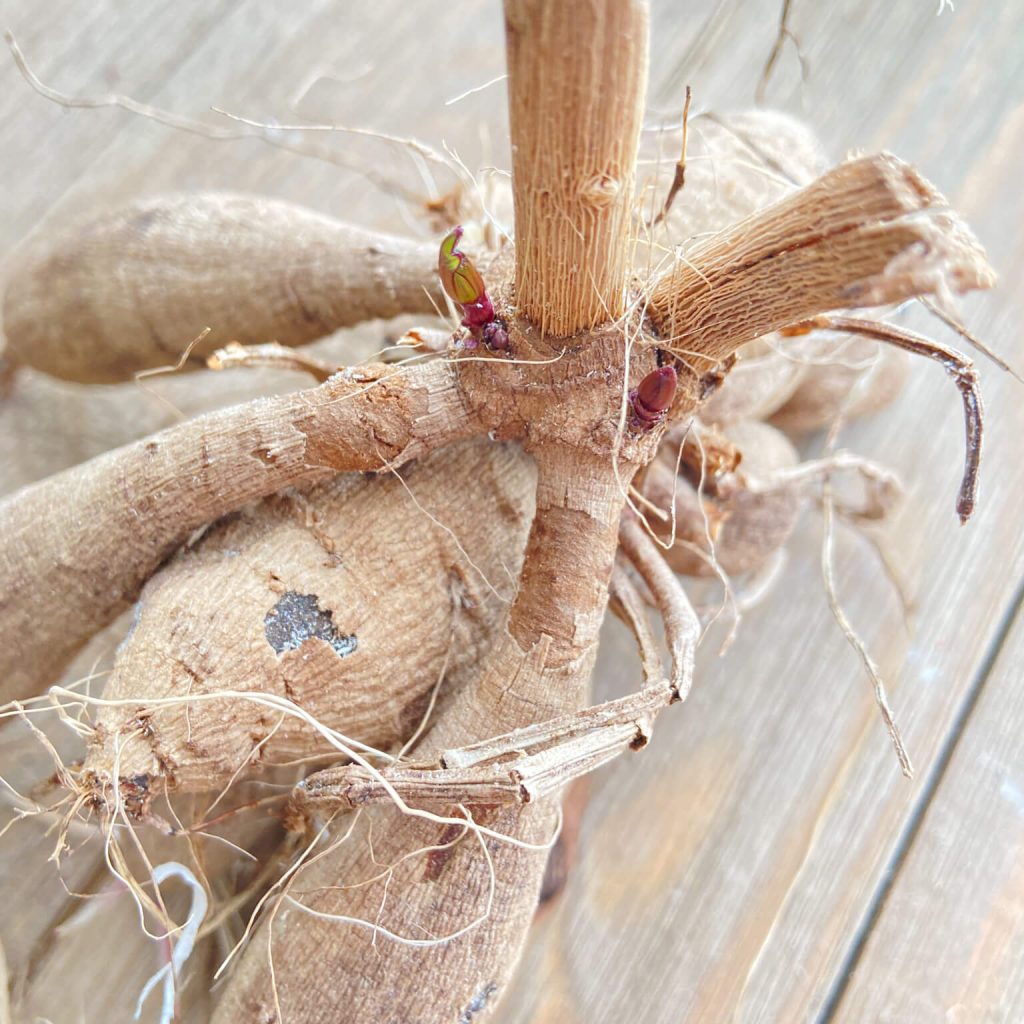
Usually, dahlias are shipped completely dormant and it can be hard to see where the eyes are. But sometimes they arrive already growing! If you receive your dahlia tuber and it’s already sprouting you can skip to Step 2! I use the following two methods to wake up my dahlias:
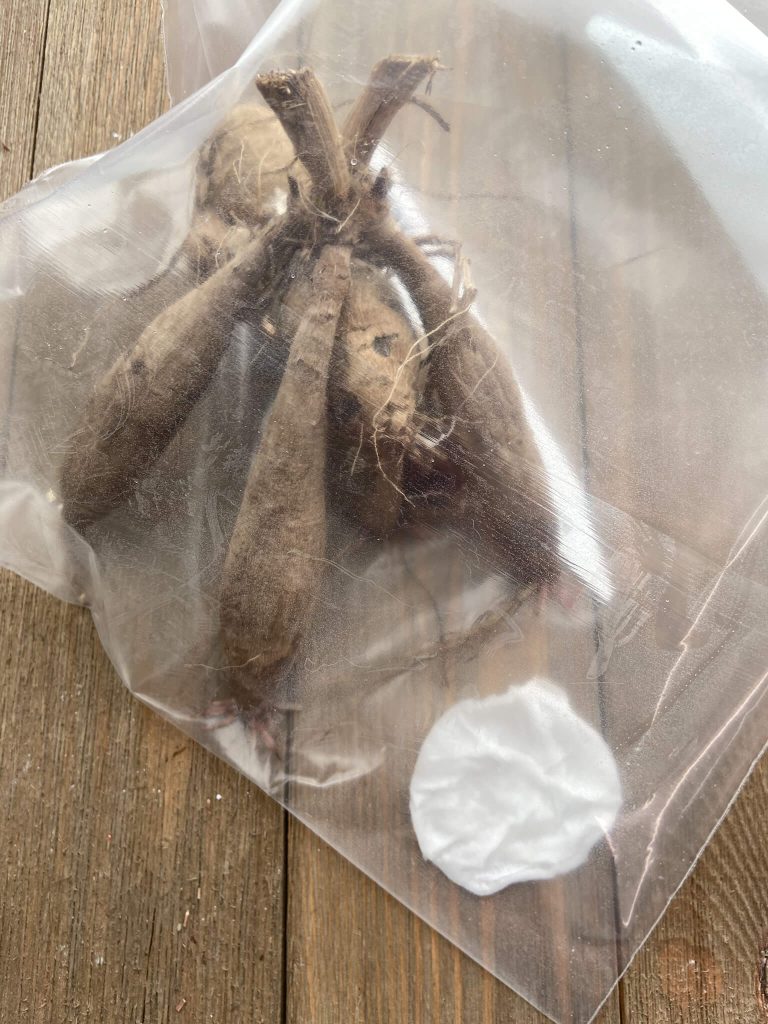
Option A- The Baggie Method
The Baggie Method is super easy, mess free, and doesn’t require grow lights or a lot of space. You simply take your single tuber or clump, place it in a Ziploc bag with a dampened cotton pad and close the bag. Don’t forget to label it! Keep it in your house at about 70 degrees Fahrenheit out of direct sun. Occasionally open the bag to let some fresh air in, but then reseal it. Make sure the cotton pad stays damp. Within a few weeks you should see your tuber start to form eyes and maybe even some roots. It is now ready to be potted up.
Option B- The Potting Mix Method
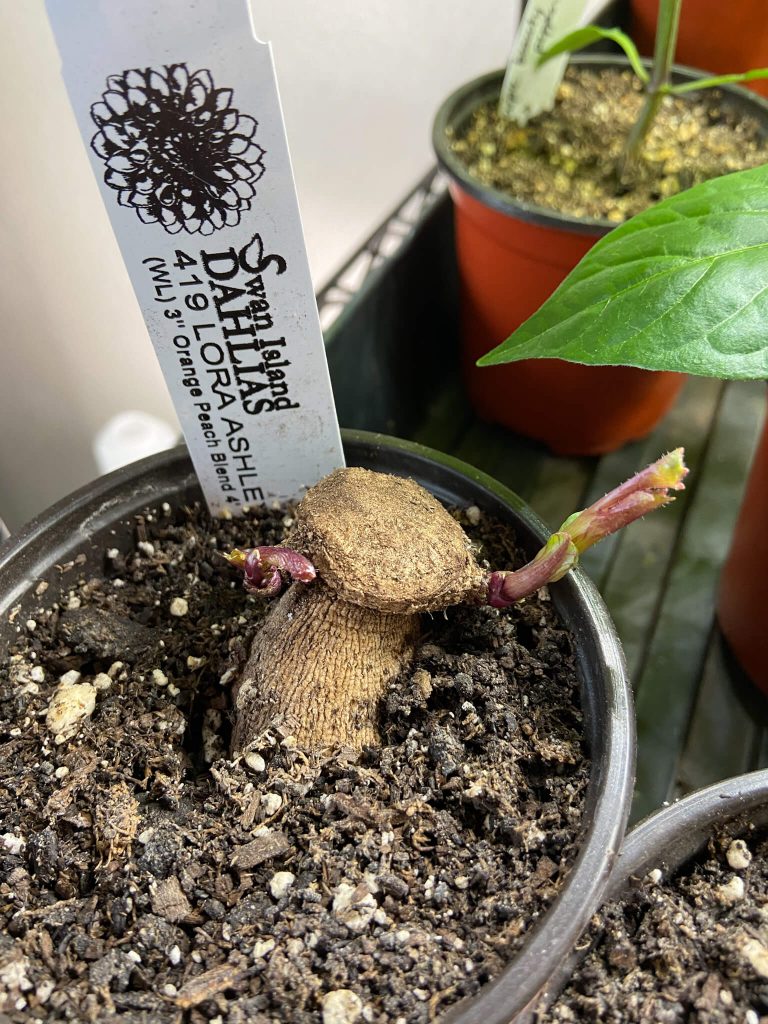
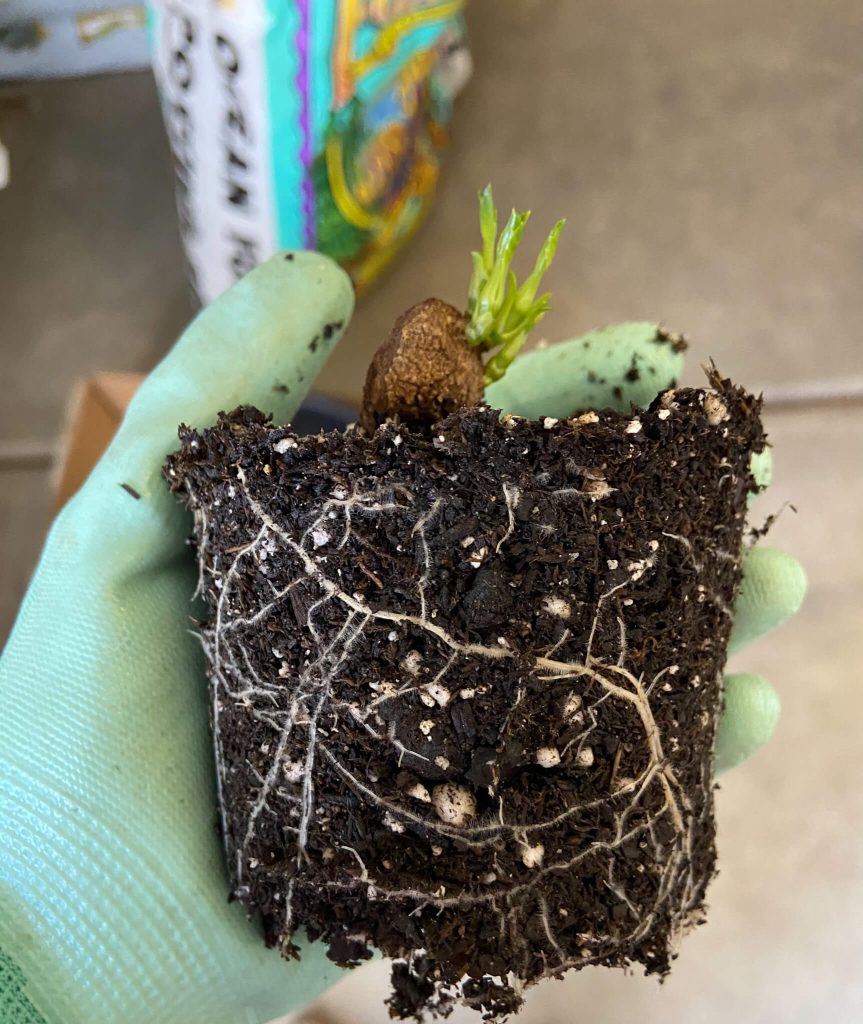
The Potting Mix Method for waking up your dahlia tubers is a little more involved. This method is best for those who would like to take cuttings from their tubers before potting them up in their final homes. For this method, fill 4 inch pots (or slightly larger if your tubers are long) with good quality potting mix (I always use FoxFarm Ocean Forest). Plant the tuber on its side with the stem end peeking out of the pot. This will give you access to see if the tuber has sprouted and also to take the cuttings.
Water the tuber lightly and keep slightly moist. Do not overwater or you risk rotting the tuber. Place in a sunny window or preferably under grow lights.
If you are going to have the tubers growing for a while because you will be taking cuttings or it is too cold outside, it is best to set up a grow light so they grow stocky and healthy and don’t stretch towards the light source. I rarely recommend windowsill growing for anything other than houseplants and cuttings.
Sometimes tubers just won’t sprout. If it is a variety that you were really looking forward to, it is worth a shot to still pot it up or plant it out in the garden. But in my experience, if they don’t sprout in the initial waking up phase, they never do.
Step 2: Pot Up the Sprouted Tubers
Here’s my other secret to growing stunning dahlias in pots: plant them deeply and fill in with potting mix as they grow. It is kind of like planting potatoes. I first read about this method years ago on The American Dahlia Society’s webpage. Honestly, it didn’t make a lot of sense to me to bury the stem of a plant that was so easily prone to rotting so I avoided doing this for years. I would plant only a few inches deep and the resulting plants were weak, spindly, and suffered from wind rock at the base. This year, I committed to trying the method and it works!
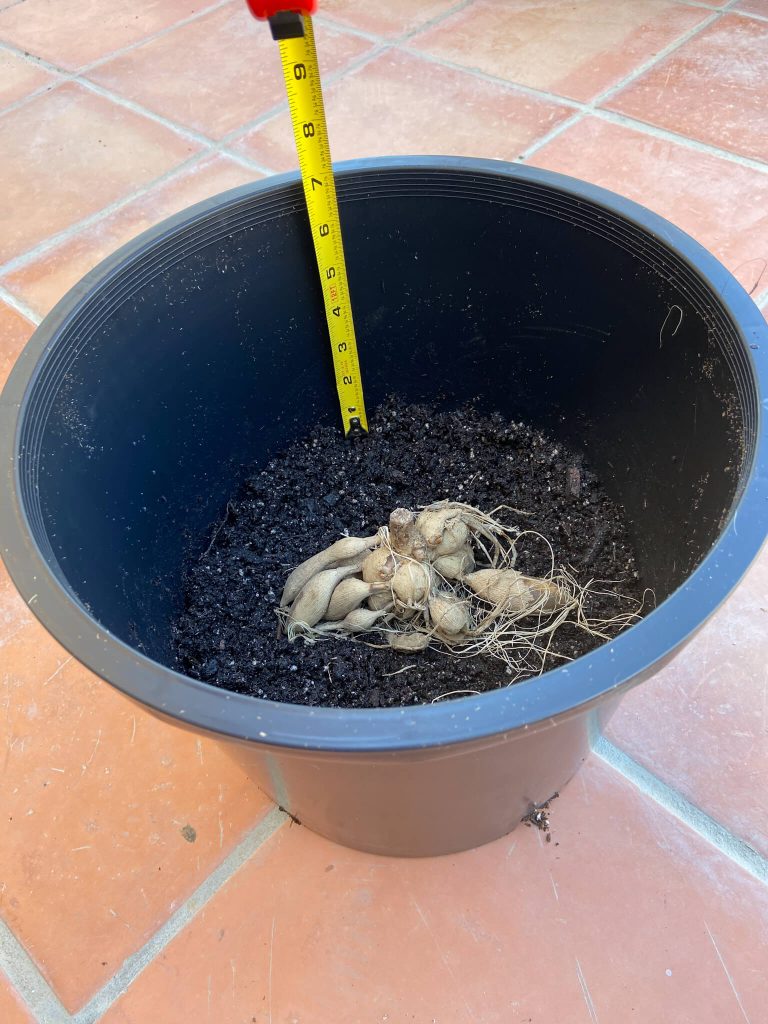
Use a 5 gallon pot. Add potting soil to the bottom 1/3 of the pot. Moisten it by mixing in some water. If you are in an arid climate you can mix in moisture holding crystals: in a separate cup, mix 1 tsp moisture holding crystals to 1 cup of warm water. Let sit for 5 minutes, then add to the potting mix in your pot and mix well. Only add this one time to the bottom. Place the tuber or tuber clump on the soil with the stem end up and make sure it is at least 7 inches below the top of the pot. We plant them 7 inches deep because we will leave a 1 inch space at the top for watering so in the end they will be the recommended 6 inches deep.
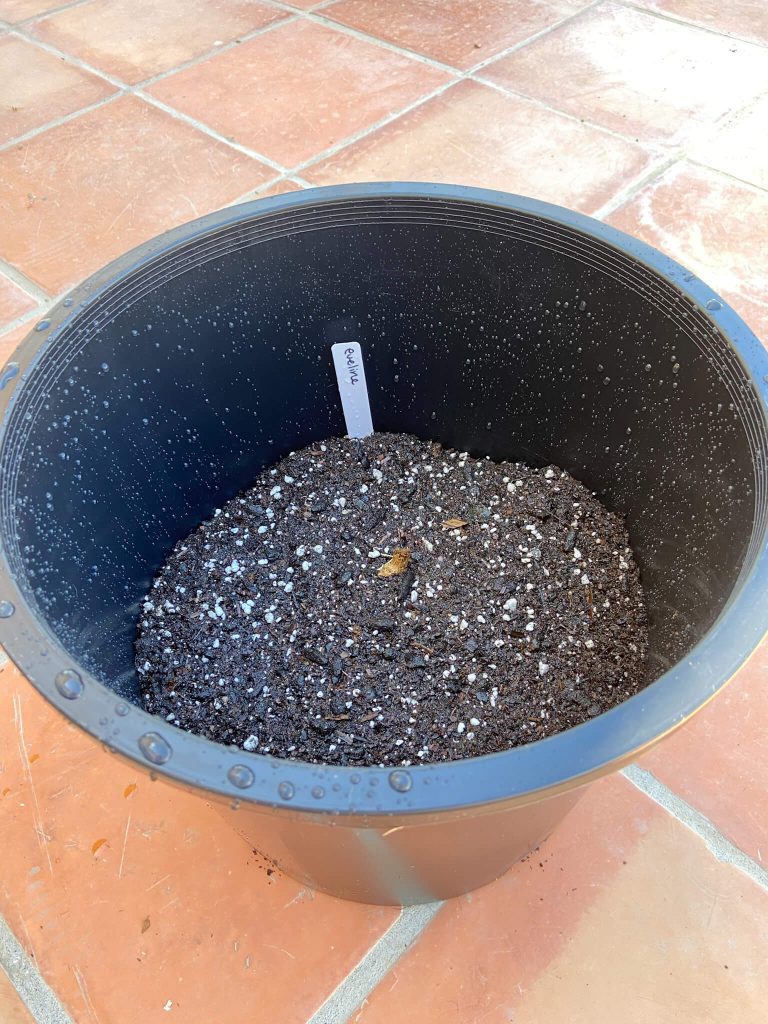
Cover the tuber with soil until the stem of the tuber just barely shows and lightly water if you will not be expecting rain for at least a week (or months in my case haha). If you pre-sprouted your tubers you can put them outside in a sunny spot as long as the temperature stays above 40 degrees. If you did not pre-sprout your tubers you will need to leave them somewhere warmer, such as a garage, to get them growing and then move them outside once you see sprouts. Cover with a wire cloche to protect from birds and critters.
As the dahlia grows, keep adding soil until it reaches one inch from the top of the pot. If leaves are in danger of being buried by the added soil, do not bury them but instead snip them off where they are attached to the stalk. It is amazing how sturdy and well rooted my dahlias are after using this method.
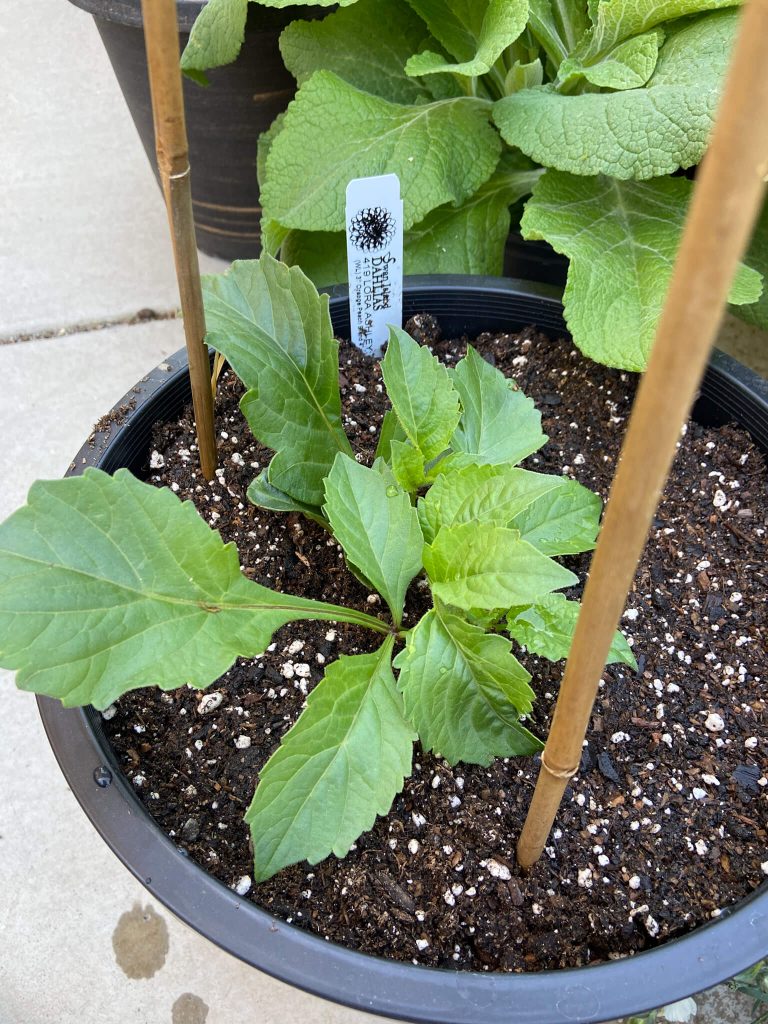
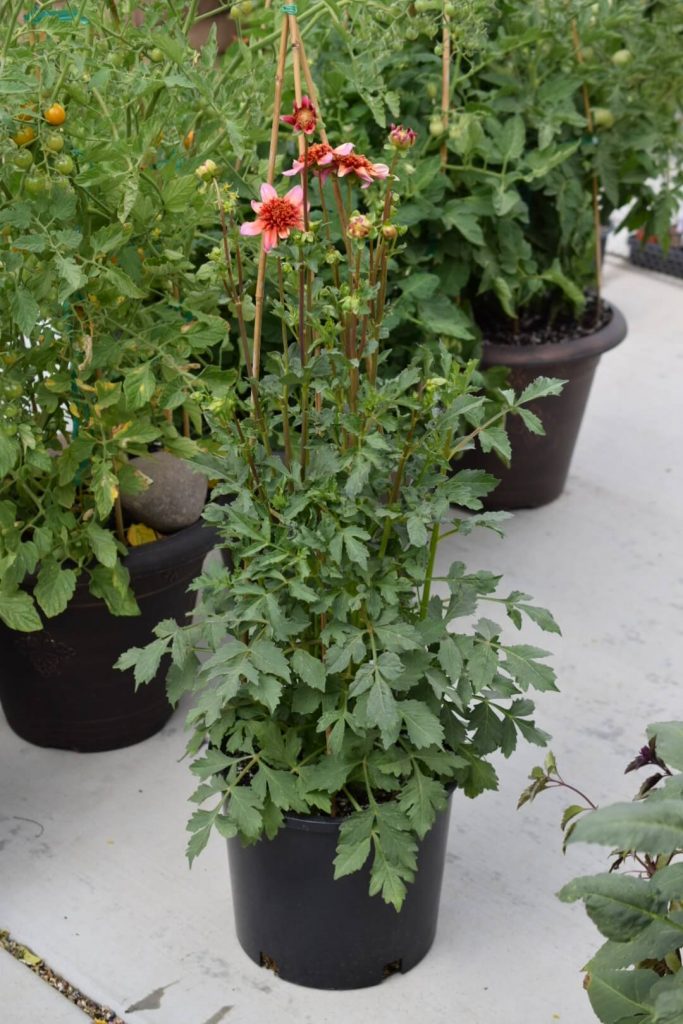
Step 3: Provide Support and Pinch
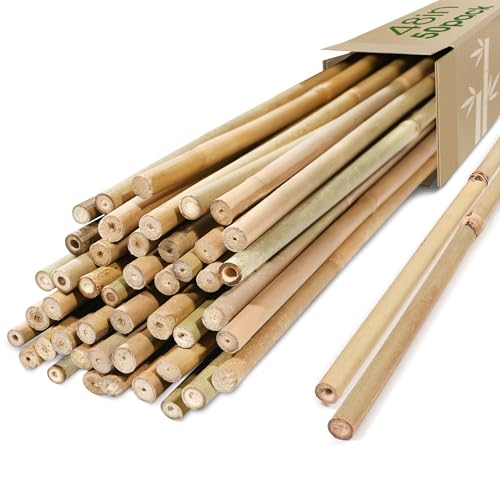
Once your dahlia has grown enough that the pot is full of soil it is time to add support! Do not skip this step. You can’t grow stunning dahlias in pots without providing support. It is so much easier to support your dahlia properly from the beginning rather than scrambling to support them in the middle of a windstorm (I know this from experience). I like to use 3 bamboo canes tied together at the top like a teepee but you could also use a tomato cage. I prefer something that offers a framework style of support as opposed to a single stake. A single stake allows the dahlia to move around too much in the wind. Don’t forget to secure your dahlia to the support as it grows.
Once your dahlia reaches 8-12 inches tall, pinch out the top growth to encourage branching. It is hard to pinch out your first buds, but if you do your plant will have a better shape and produce more blooms.
Step 4: Sunshine, Water, and Fertilizer
Dahlias need at least 6 hours of sunshine. Any less and you will have leggy plants that do not bloom very much, if at all.
Be careful with watering your potted dahlias. They are highly susceptible to rot. I always do the “finger test” to make sure the soil is starting to dry before adding additional water. Wilting in strong summer sun and heat is a common response of dahlias, even when their soil is moist. Do not add more water to an already moist dahlia just because it is wilting; you will surely rot the tuber. Watering dahlias is very difficult to master; don’t feel bad if you rot a few tubers learning this skill!
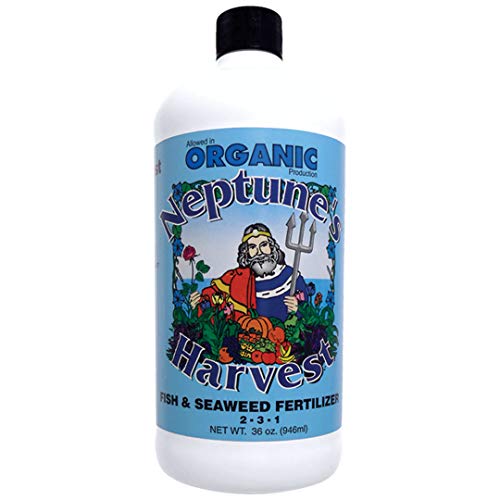
Your dahlias will need food! I fertilize my dahlias once a week with Neptune’s Harvest Fish Emulsion.
Step 5: Pest Control
My dahlias mainly get attacked by earwigs, thrips, and leafhoppers. Earwigs chomp on the flowers and for these I turn to Sluggo Plus sprinkled in the base of the pot. Both thrips and leafhoppers can spread disease as well as damage and disfigure the plants and blooms. It’s important to keep an eye on your dahlias and take care of pests before they get out of control. Try sticky traps to monitor and control pests. They have worked well for me in the past. I wrote all about them in THIS ARTICLE.
This year, I am being more proactive and have preventatively sprayed an organic insecticide called AzaMax. It is a Neem oil derivative which (slowly) kills the bugs but also has repellant properties that helps prevent them from showing up in the first place. So far this year I have only seen two leafhoppers and thrips damage has been greatly reduced.
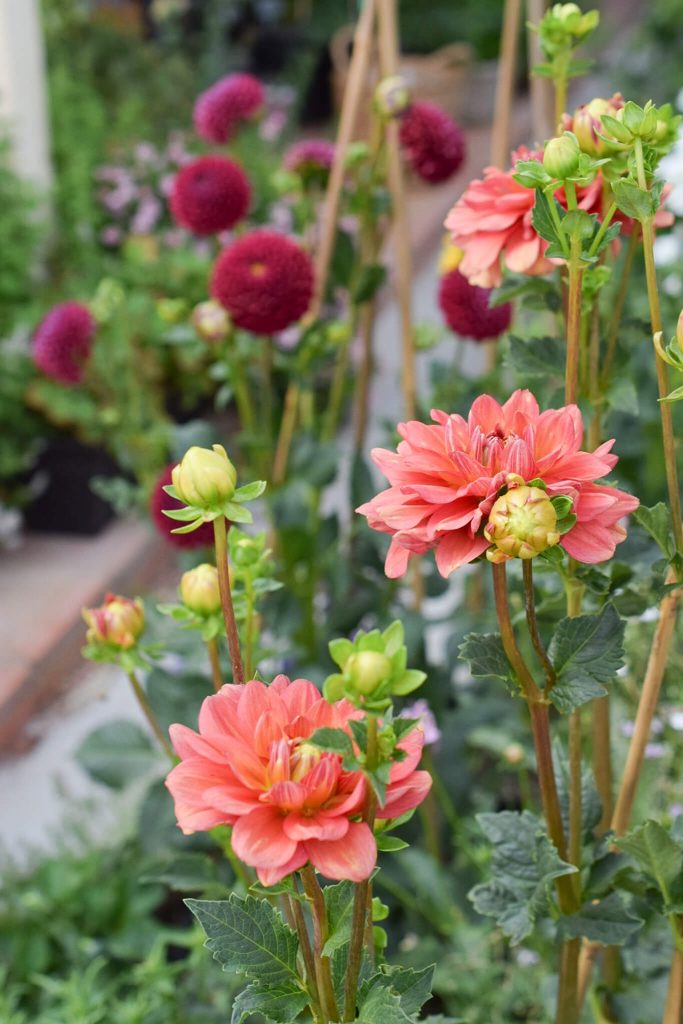
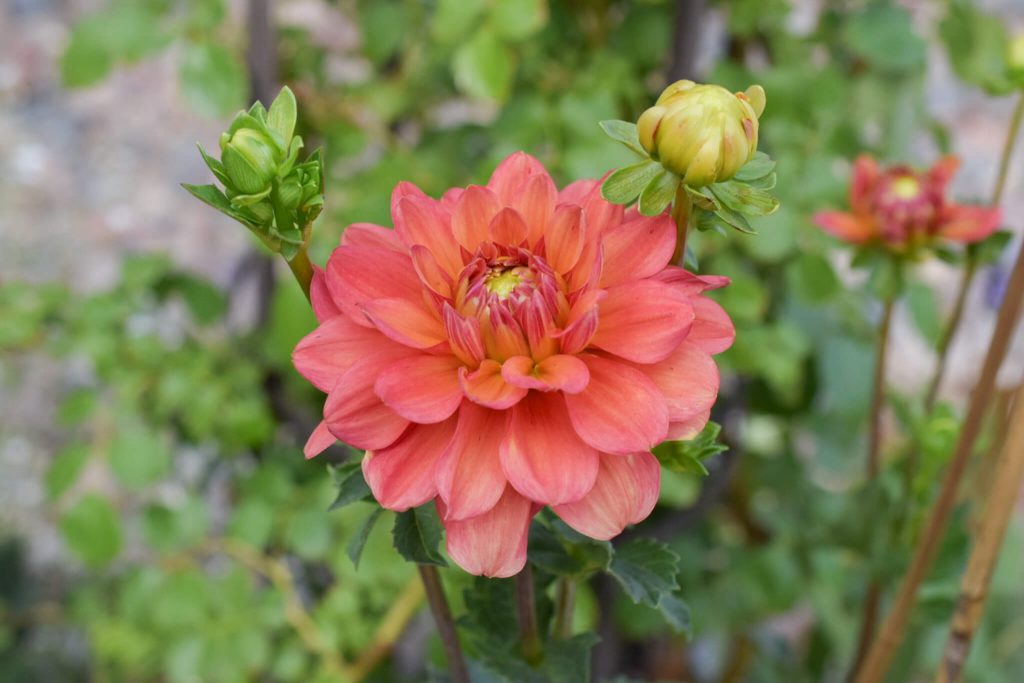
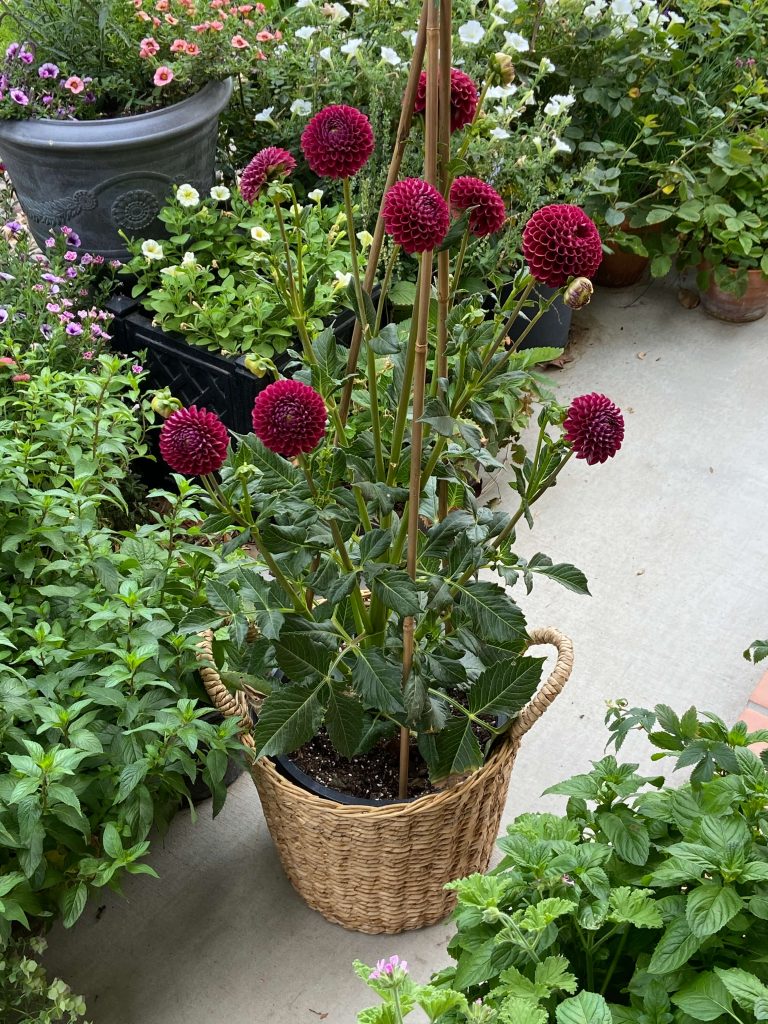
Step 6: Enjoy!
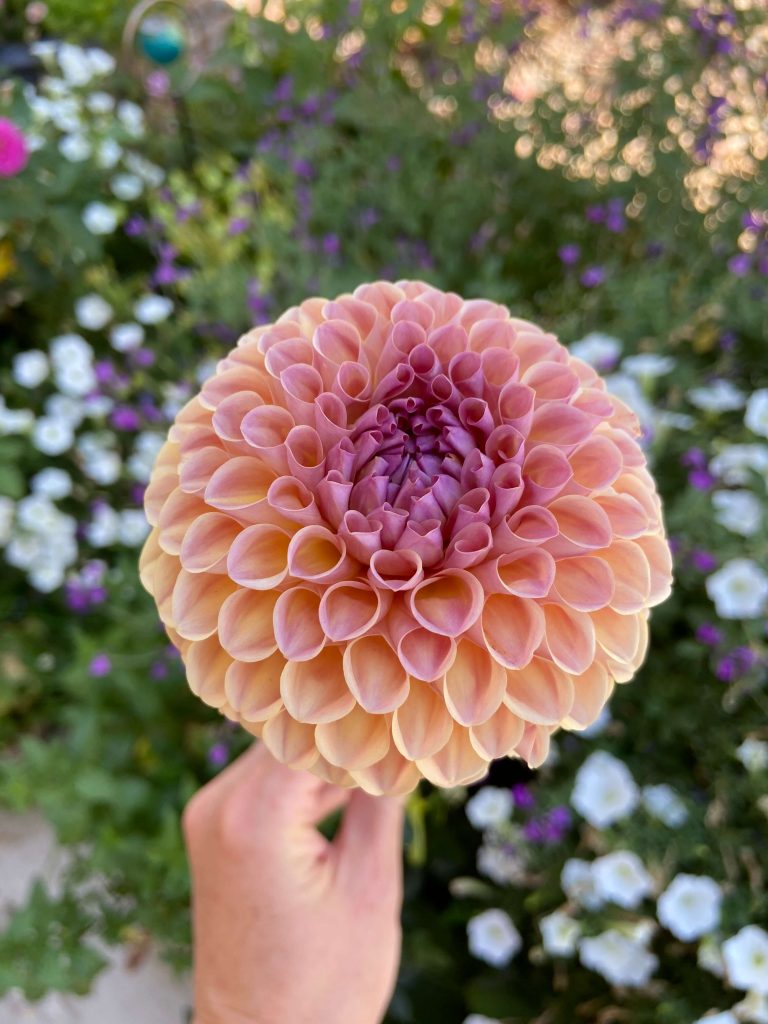
Enjoy your stunning dahlias! Don’t forget to deadhead spent blooms to keep new ones coming.
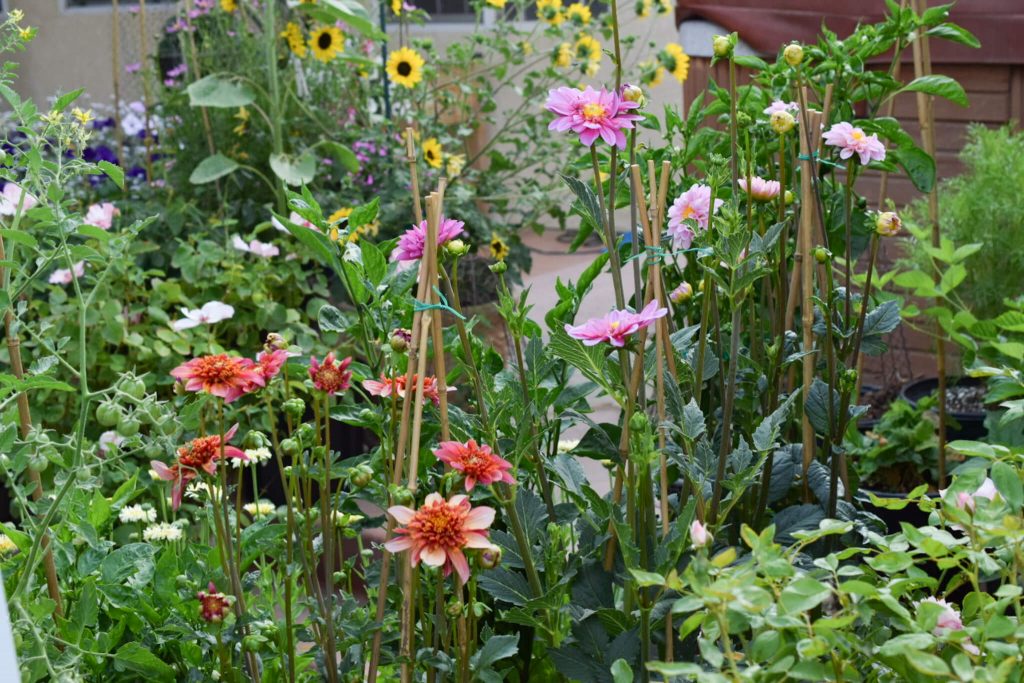
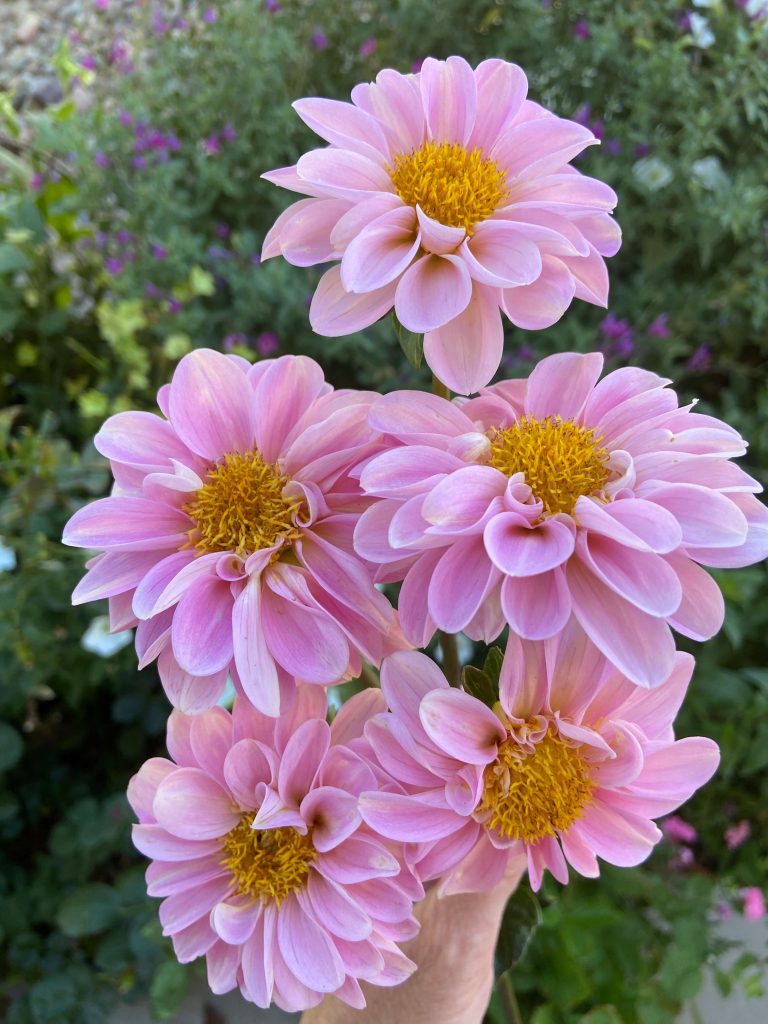
To cut for bouquets, you will get the longest vase life when blooms are harvested at their peak. Be sure that the bloom is fully open, but that there are no old papery petals on the back which indicates that it is past its prime.
While growing dahlias in pots can be challenging, it is well worth the effort, especially if pots are your only option to grow these beauties! Thanks for stopping by and please leave your questions in the comment box below!
Happy Gardening,
Heather


Love this article or want to save it to read later? PIN it!!!
Related Posts

How to Easily Grow Beautiful Zonal Geraniums from Seed
When I discovered how easy it is to grow beautiful zonal geraniums (Pelargonium hybrids) from…
08/01/2023
How to be Successful Growing Anemones in Pots
Anemones (Anemone coronaria) are one of my favorite flowers to grow in pots for a…
12/06/2022
Mike Glover | 26th Feb 23
So pleased I discovered this website thefancygarden.com. It’s just what I was looking for. I started growing dahlias two years ago. These were grown in my garden borders. I always had a few spare tubers left over so I just potted them up in containers and just left them really. You’ve given me the inspiration to prepare them properly for a superb display. I’m really looking forward to seeing my new container daily displays.
Thank you so much. Mike
Heather | 27th Feb 23
Thanks so much Mike! Happy gardening!
Daniela Falchetta | 5th Nov 23
So very useful
Thank you
Please could you add metri measures? Also for gallons’ pots ?
Heather | 31st Jan 24
I’m sorry, I’m not sure what the conversions would be.